Split tunneling
Split tunneling decides which of a user's traffic goes through Vipilink while they're connected to a network.
| Mode | What goes through Vipilink | When to use it |
|---|---|---|
| Automatic (Full tunnel) | All traffic, including internet traffic. Websites see the gateway's static public IP. | You want to protect all traffic, or allow your SaaS apps only from the gateway IP. This is the default. |
| Manual | Only traffic to the subnets you enter. Everything else goes straight to the internet. | Users only need private resources, for example your AWS VPC, and should browse the internet directly. |
Traffic to the network's own subnet always goes through Vipilink.
Change the mode
- Open the network, click the ... menu on the network card and choose Split Tunneling.
-
Choose a mode:
-
Automatic (Full tunnel): nothing else to set.
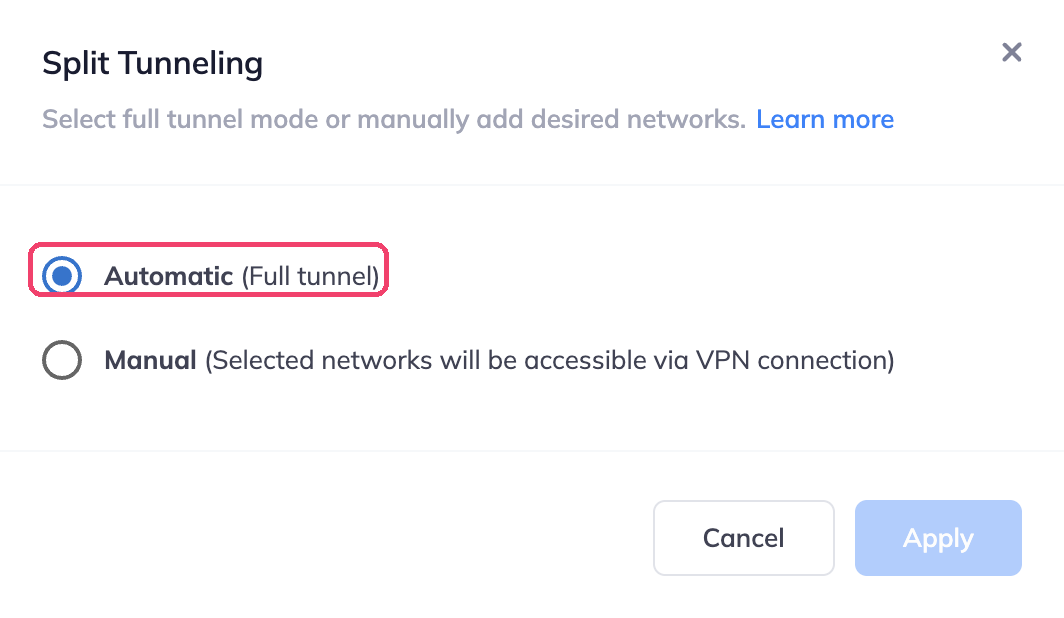
-
Manual: enter the subnets users should reach through Vipilink, for example
10.50.0.0/16. Press Enter after each one.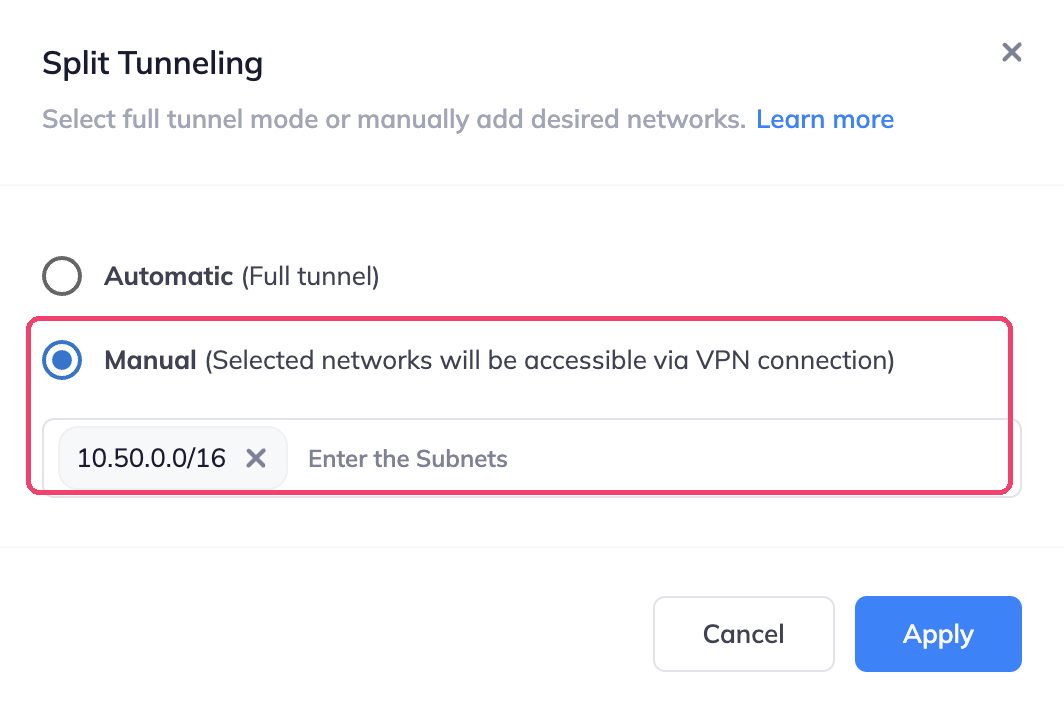
-
-
Click Apply. Connected agents get the change right away and reconnect on their own.
When split tunneling is set, the network card shows a fork icon above the network name.

Troubleshooting
| Problem | What to check |
|---|---|
| A private resource doesn't respond in Manual mode | Its subnet is in the list. A tunnel and a route to that subnet exist. |
| Names of private resources don't resolve | Set Private DNS and make sure the DNS server's IP is inside a subnet in the list. |