Users
Users are the people in your workspace. Each user has a role that sets what they can do in the Vipilink console, and uses one user license.
Go to Team → Users to see everyone in your workspace, invite new people and manage existing users.
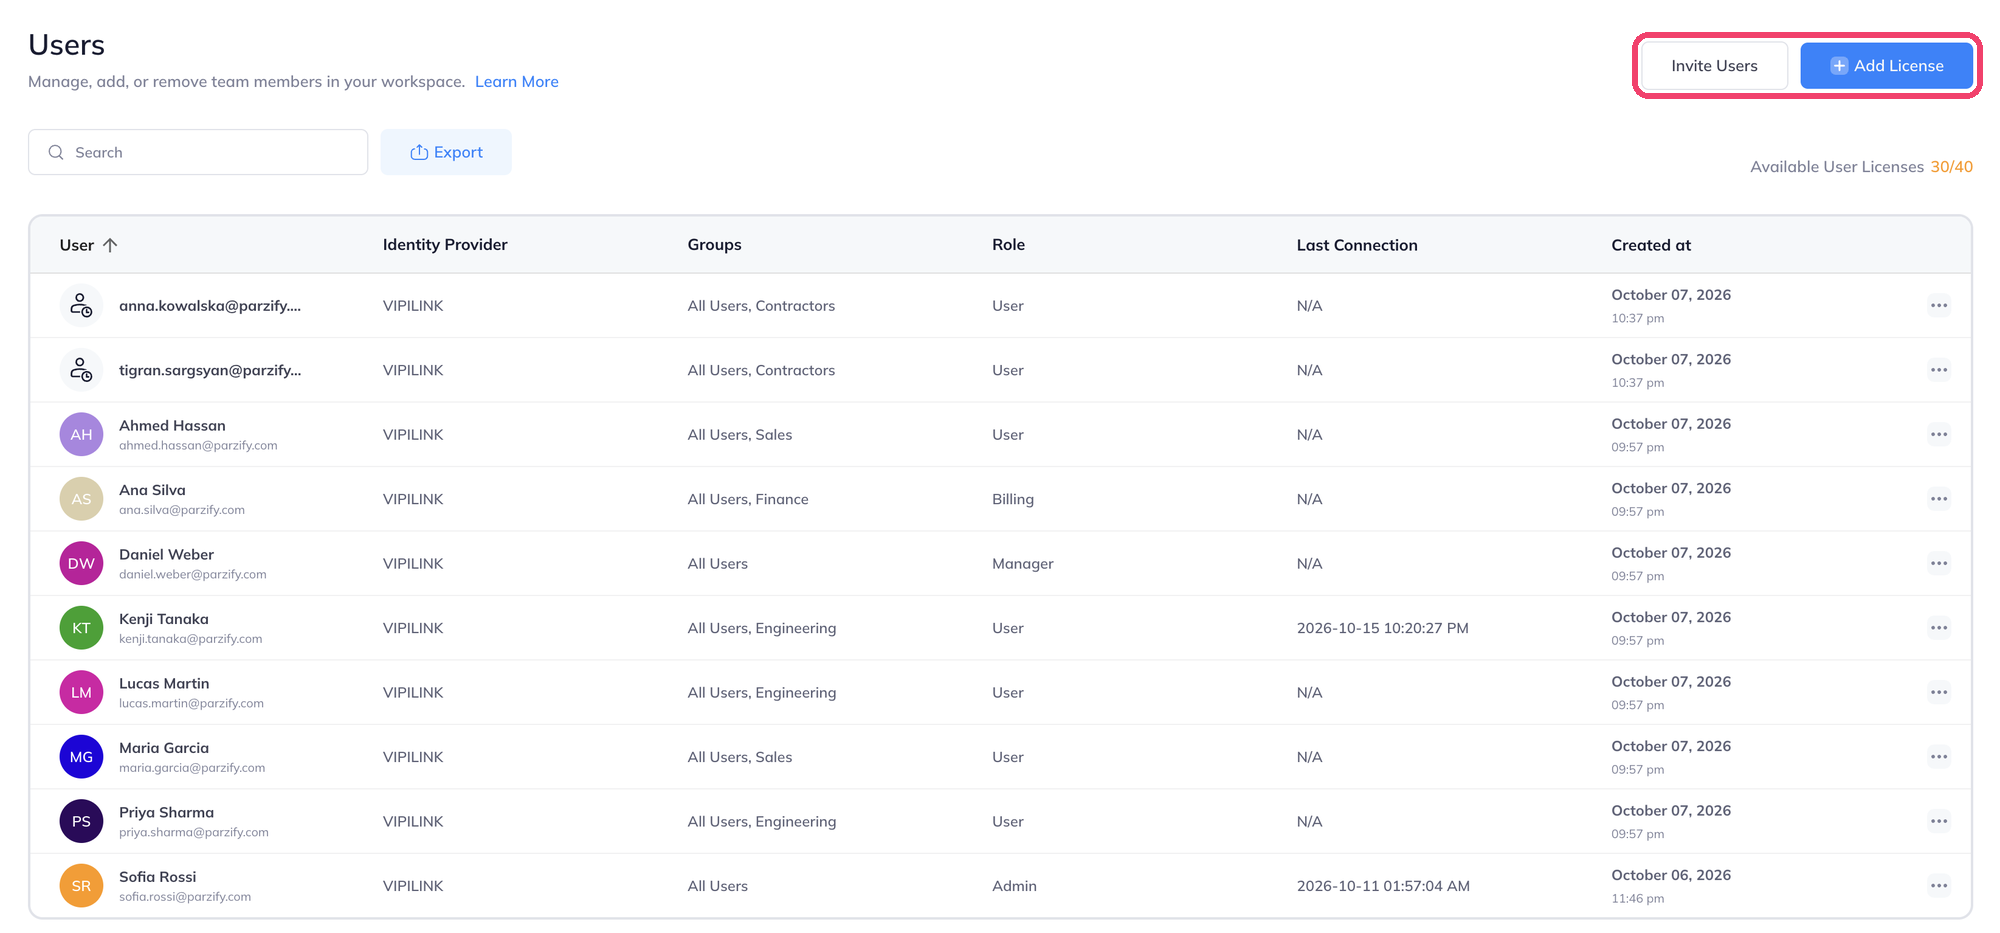
The list shows each user's identity provider, groups, role, last connection and the date they were added. People you invited who haven't joined yet show their email address only. The counter under the buttons, for example Available User Licenses 30/40, shows how many licenses are free.
Roles
| Role | What it can do |
|---|---|
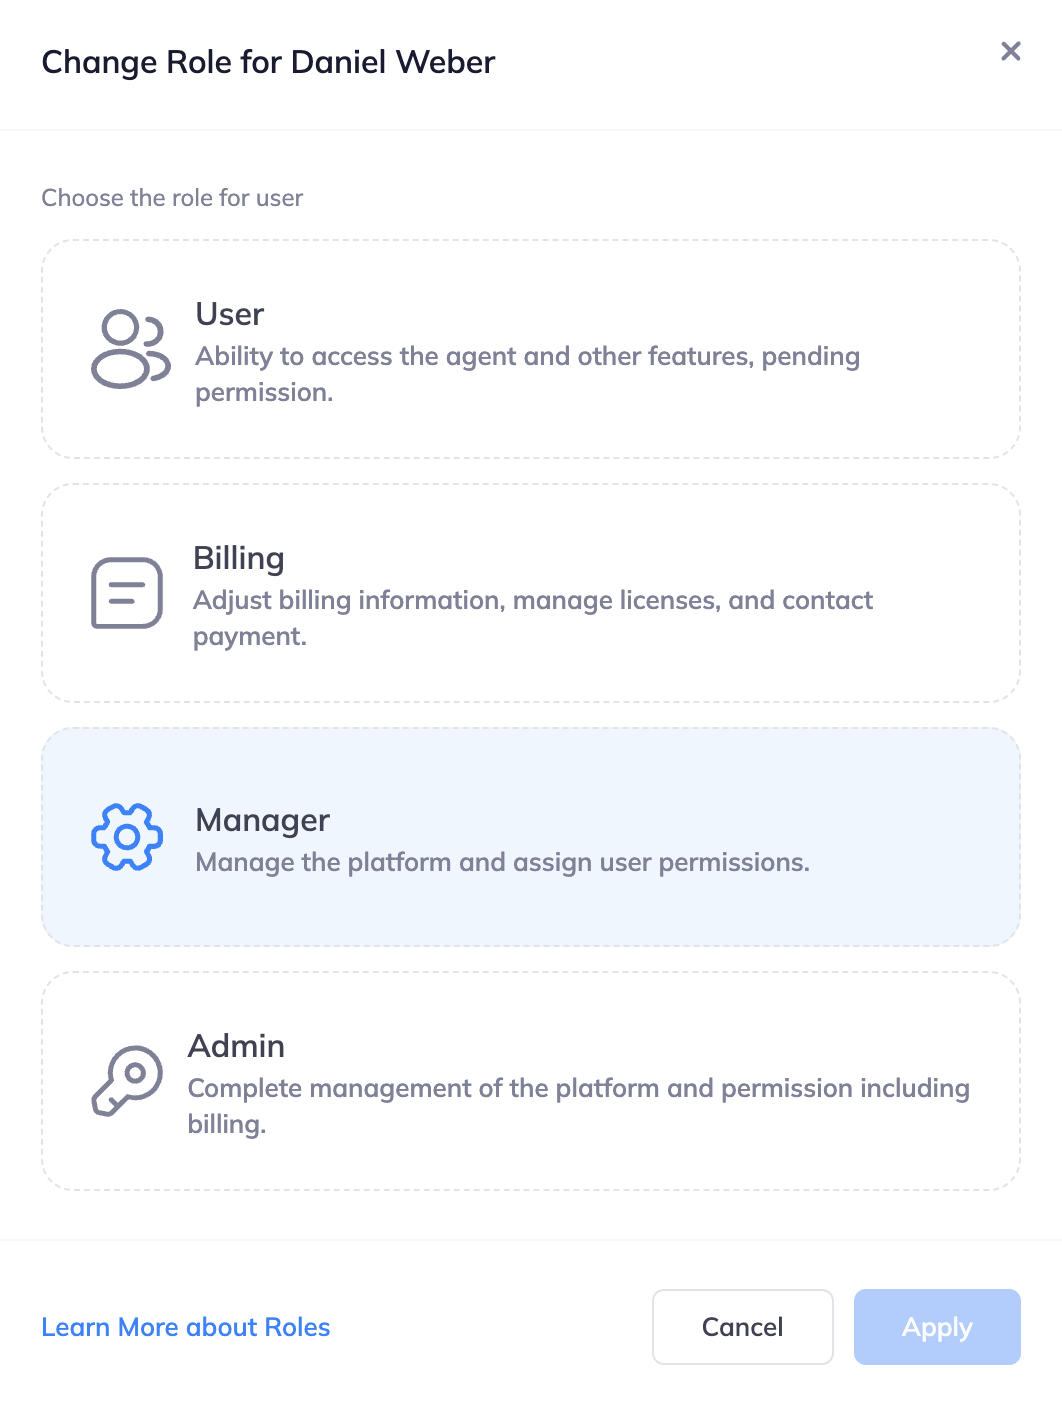
| Admin | Everything, including billing, licenses and changing other users' roles. |
| Manager | Manages the workspace: team, networks, applications, objects, devices and monitoring. No access to billing or licenses. |
| Billing | Manages billing details, payment methods, invoices and licenses. No access to the team, networks or other settings. |
| User | Connects with the Vipilink agent and opens the applications they're allowed to use. Can't change any settings. |
New users get the User role. To change it, see Change a user's role.
Invite users
- On the Users page, click Invite Users.
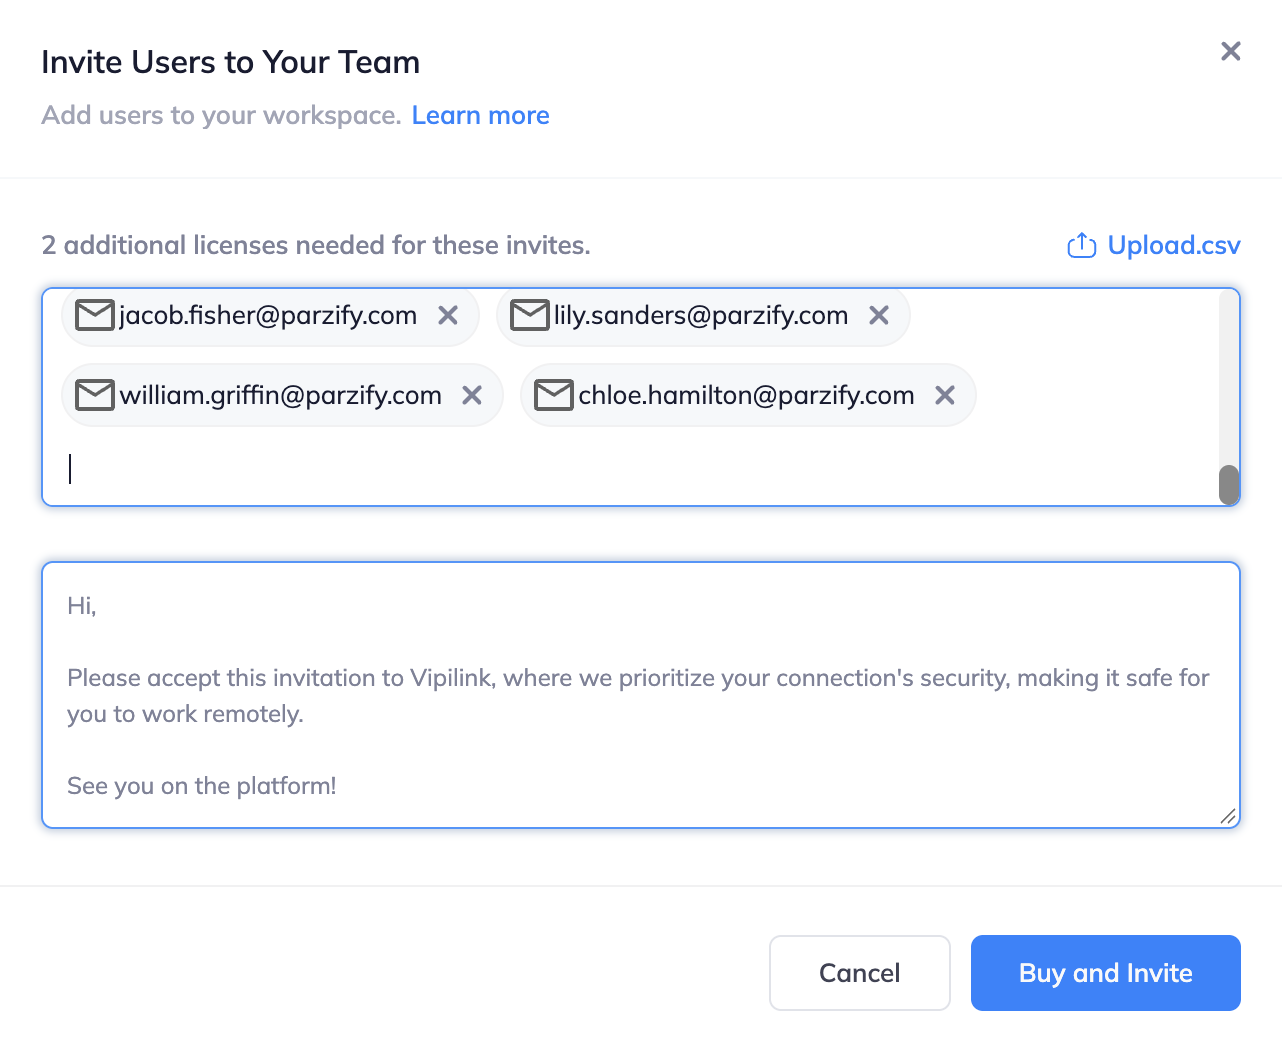
- Enter one or more email addresses. Separate them with a comma or a space, or press Enter after each one. To add many people at once, click Upload.csv and choose a CSV file with their email addresses.
- Edit the invitation message if you like, then click Invite Users.
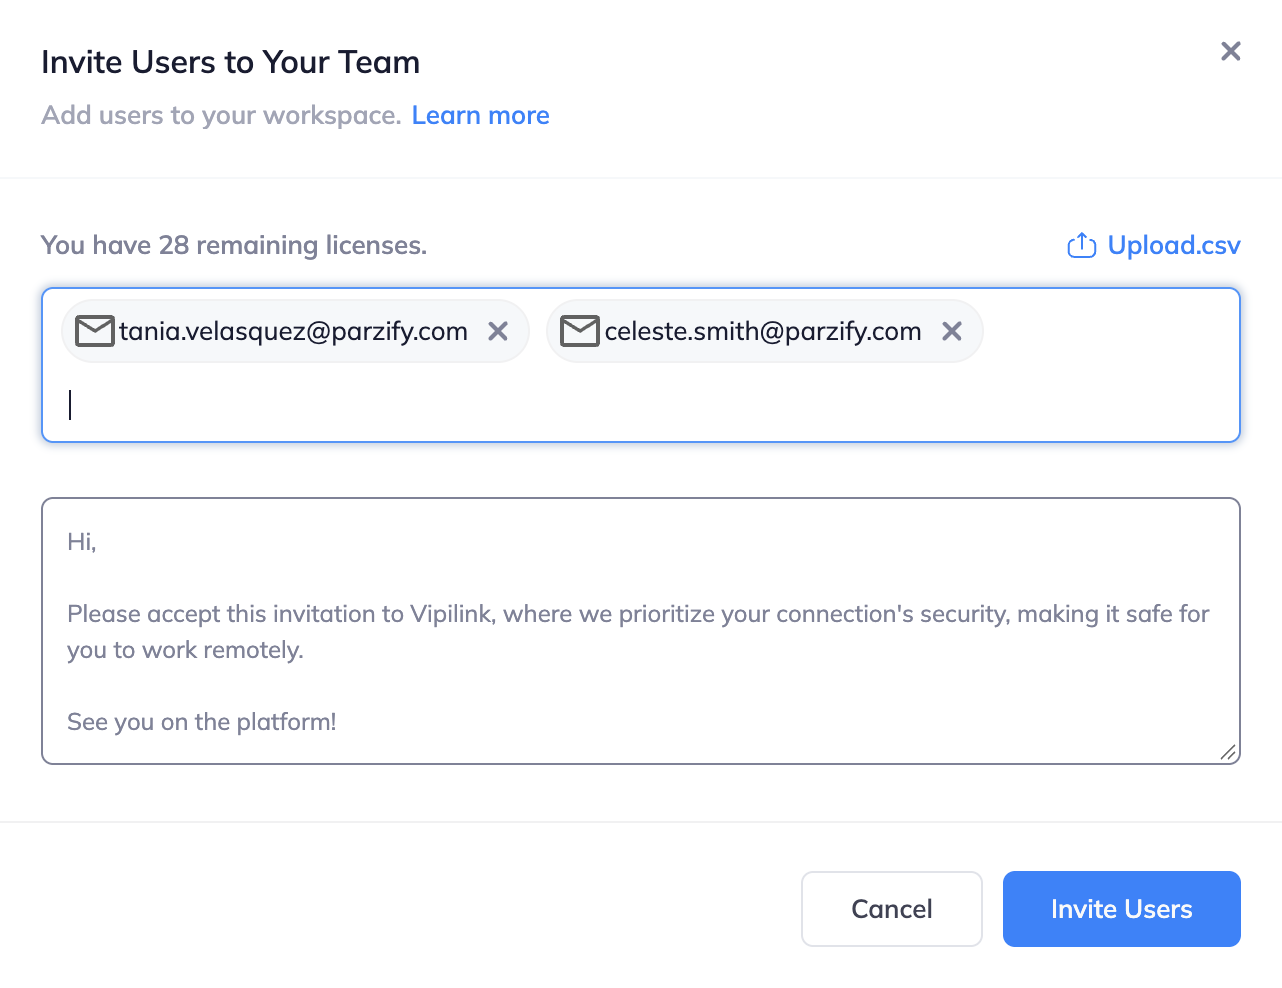
Each person gets an email invitation and appears in the list right away. Each invited person uses a license.
Not enough licenses
If you invite more people than you have free licenses, the dialog shows how many more you need and the button changes to Buy and Invite. Clicking it buys the missing licenses and sends the invitations.
You can also buy licenses ahead of time with Add License at the top of the Users page. Choose how many to add and the card to pay with. The dialog shows the prorated charge for the current billing period before you confirm.
Manage a user
Click the ... menu at the end of a user's row.
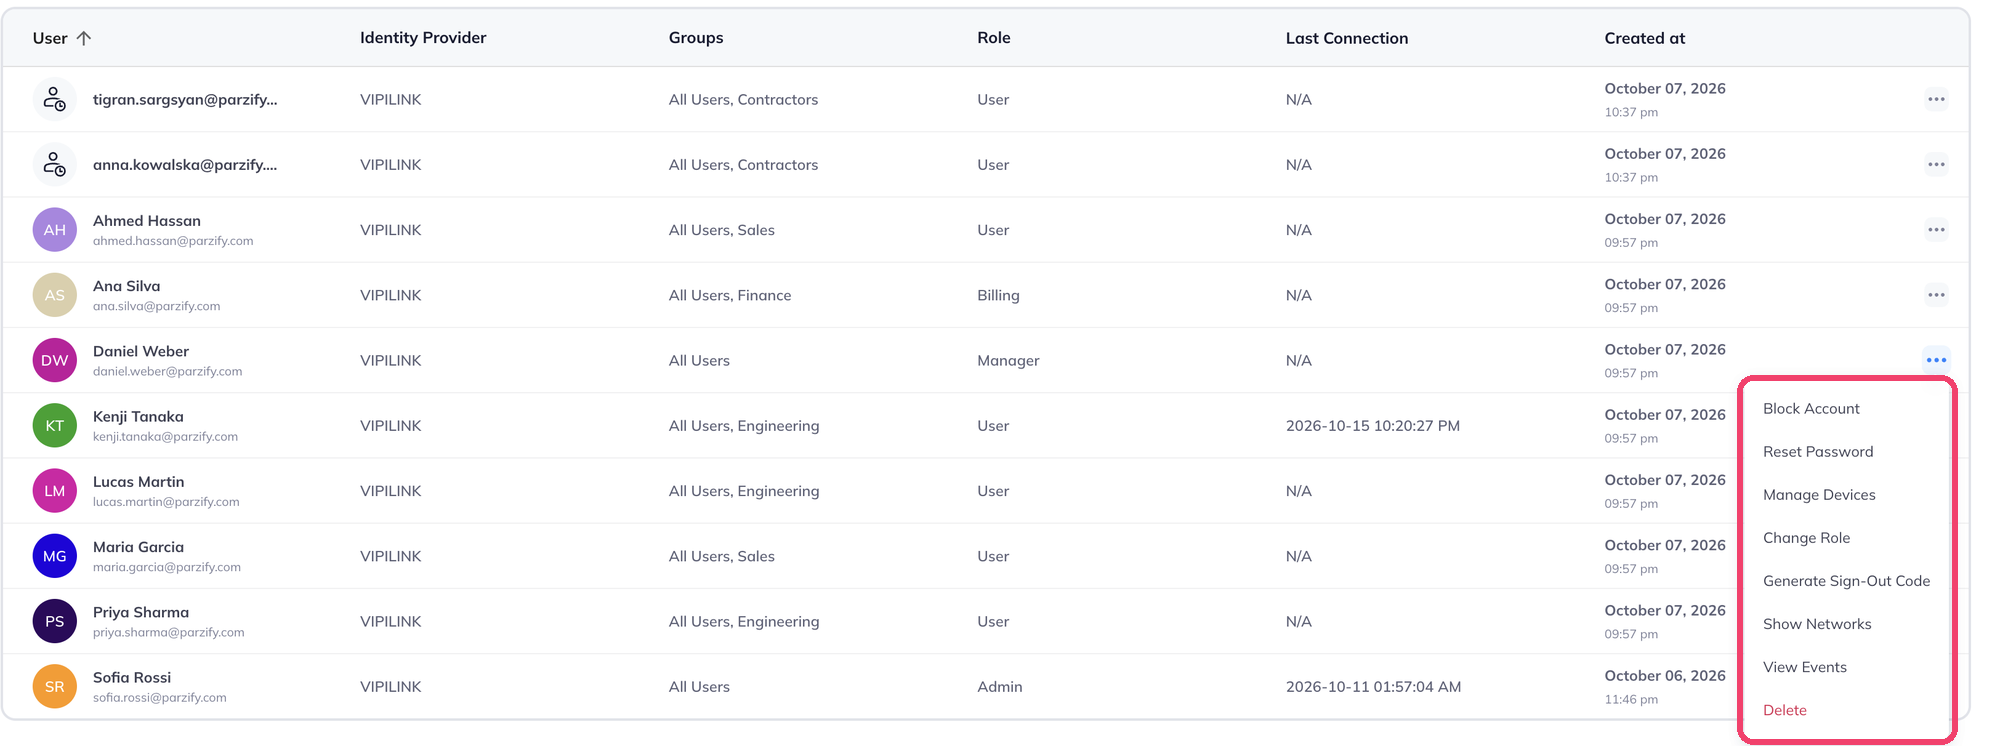
| Action | What it does |
|---|---|
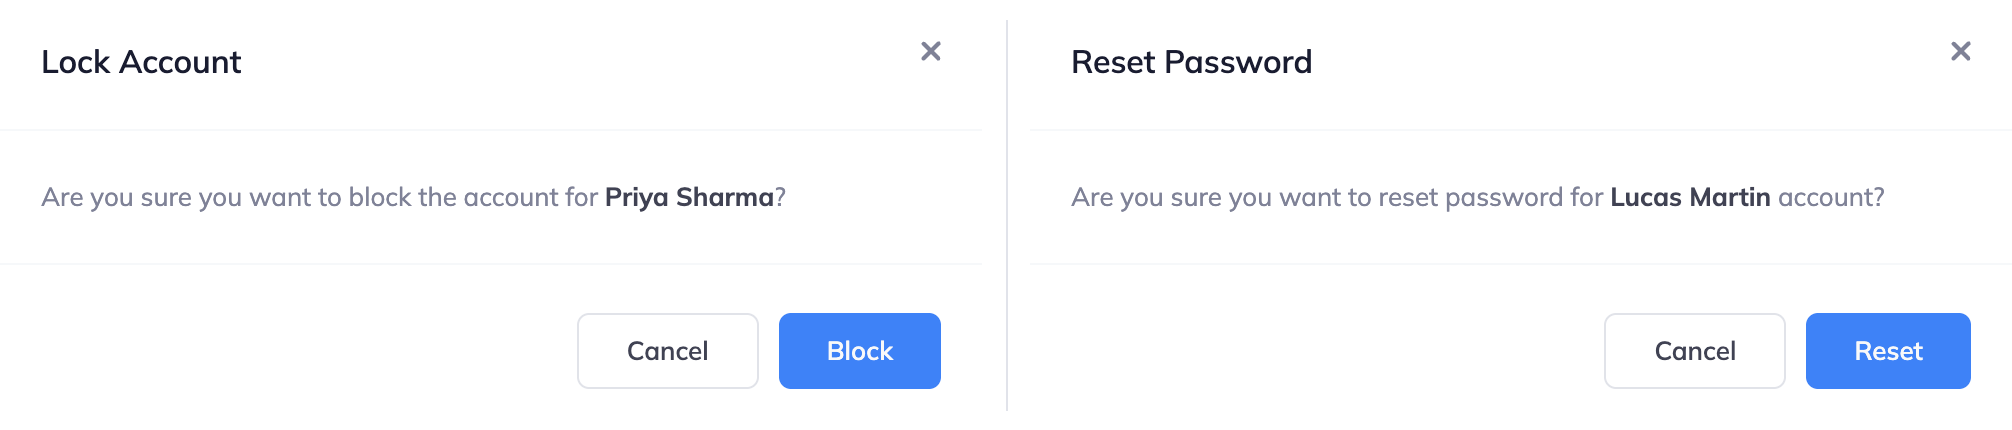
| Block Account | Stops the user from signing in. You confirm before it takes effect. |
| Reset Password | Resets the user's password. You confirm before it takes effect. |
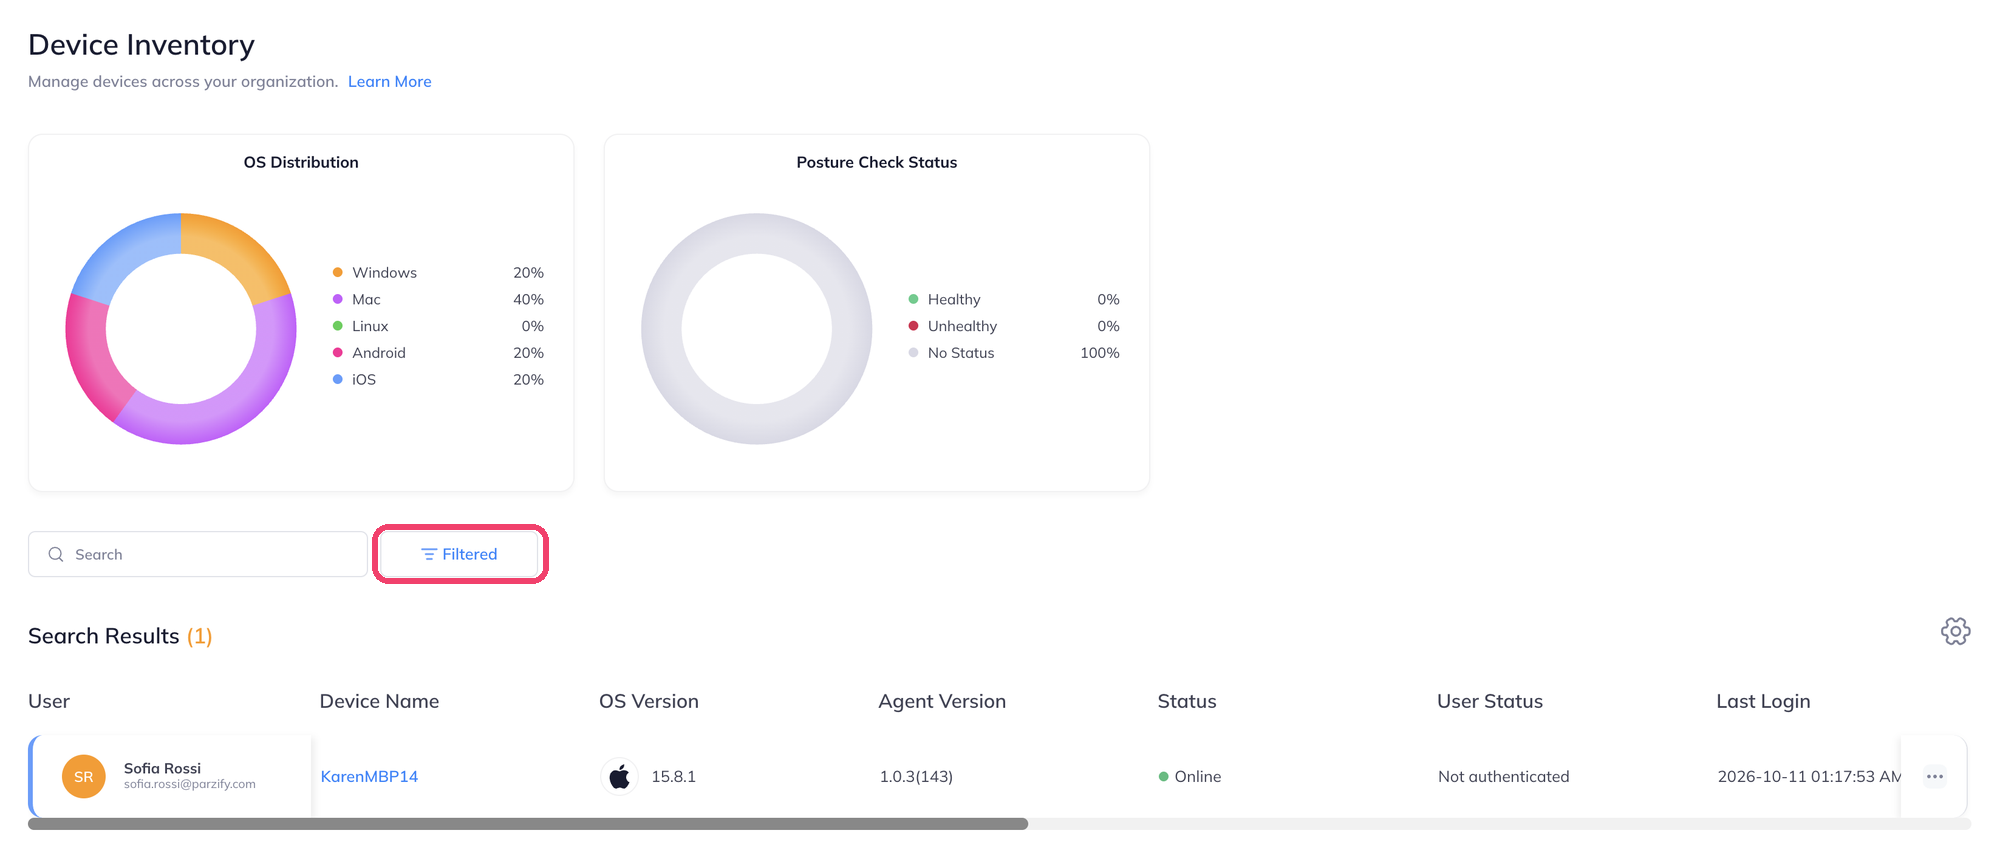
| Manage Devices | Opens Devices → Device Inventory filtered to this user's devices. |
| Change Role | Sets the user's role. See Roles. |
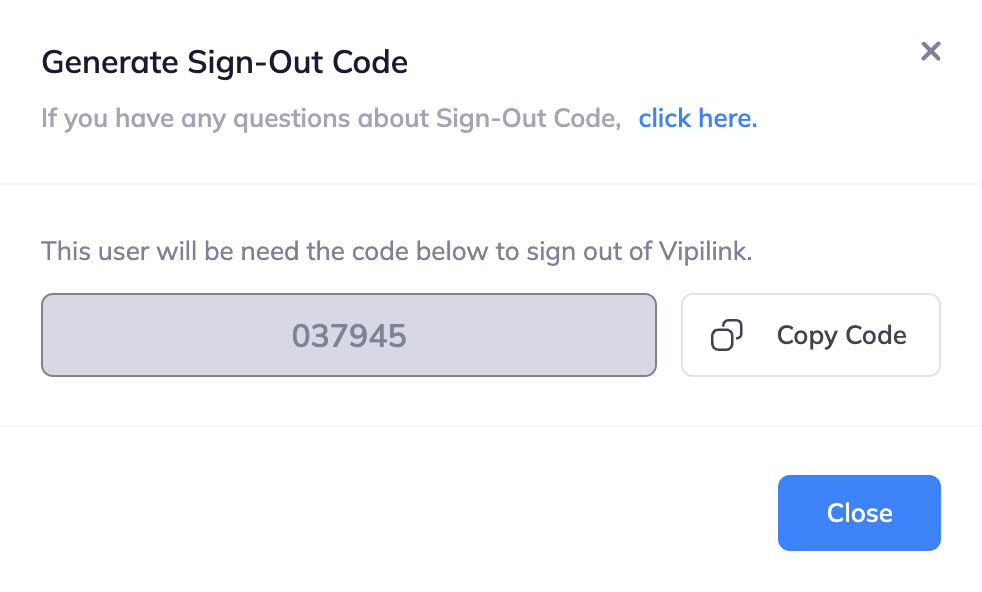
| Generate Sign-Out Code | Creates a code the user needs to sign out of the agent when their user profile blocks signing out. |
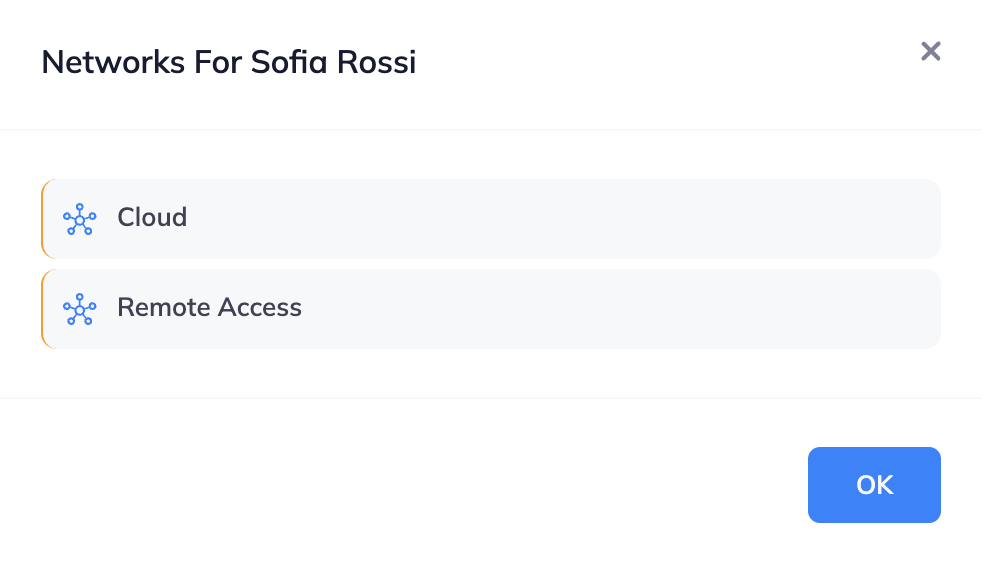
| Show Networks | Lists the networks the user can connect to. |
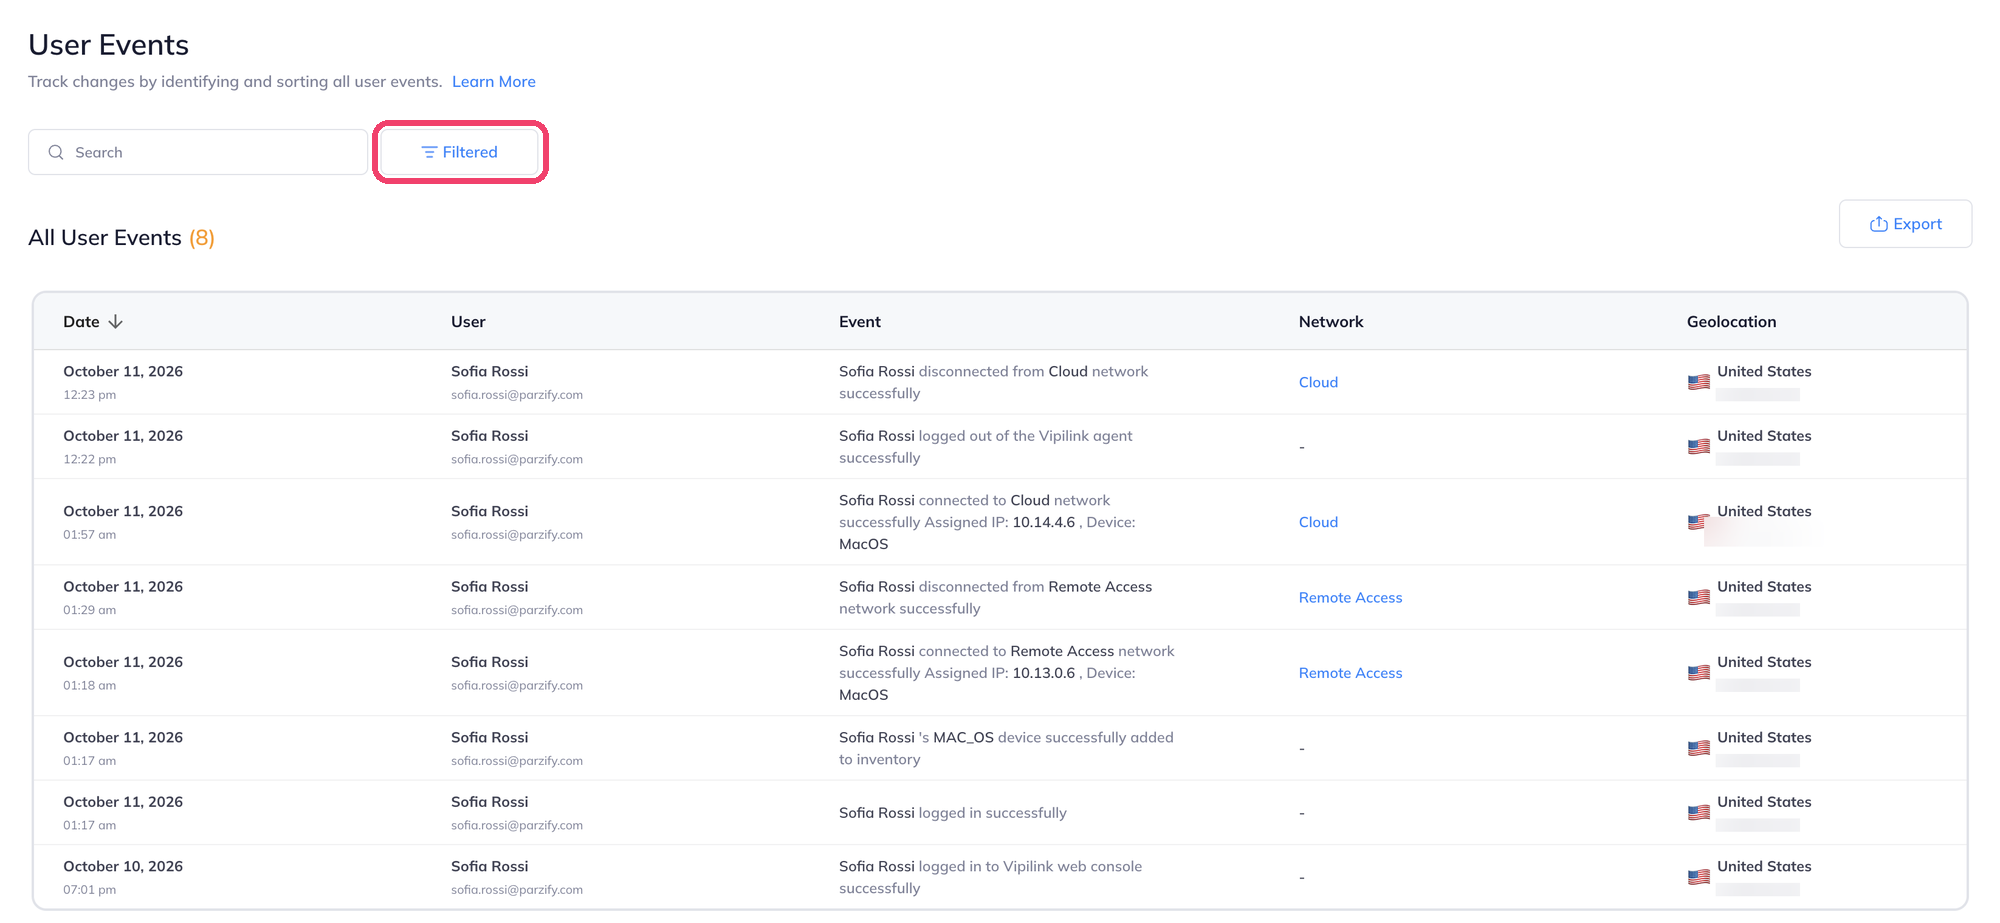
| View Events | Opens Monitor & Logs → User Events filtered to this user. |
| Delete | Removes the user from the workspace. |
Change a user's role
- In the user's ... menu, click Change Role.
- Choose User, Billing, Manager or Admin.
- Click Apply.
Generate a sign-out code
If a user's user profile has Disable Sign-Out turned on, the user can't sign out of the Vipilink agent on their own. When they need to, for example to switch accounts:
- In the user's ... menu, click Generate Sign-Out Code.
- Click Copy Code and send the code to the user.
- The user enters the code in the agent to sign out.
See a user's networks
Show Networks lists every network the user can connect to. Users get access to networks through their groups.
See a user's devices and events
Manage Devices and View Events open other pages with a filter for the user already applied. Click Filtered to see or clear the filter.