Networks
A network is the private network your users join when they connect with the Vipilink agent. Each network has its own subnet, runs in one or more regions, and has one or more gateways in each region. Users get a private IP from the network subnet and can reach everything you connect to the network with tunnels.
Go to Networks → Networks to see your networks.
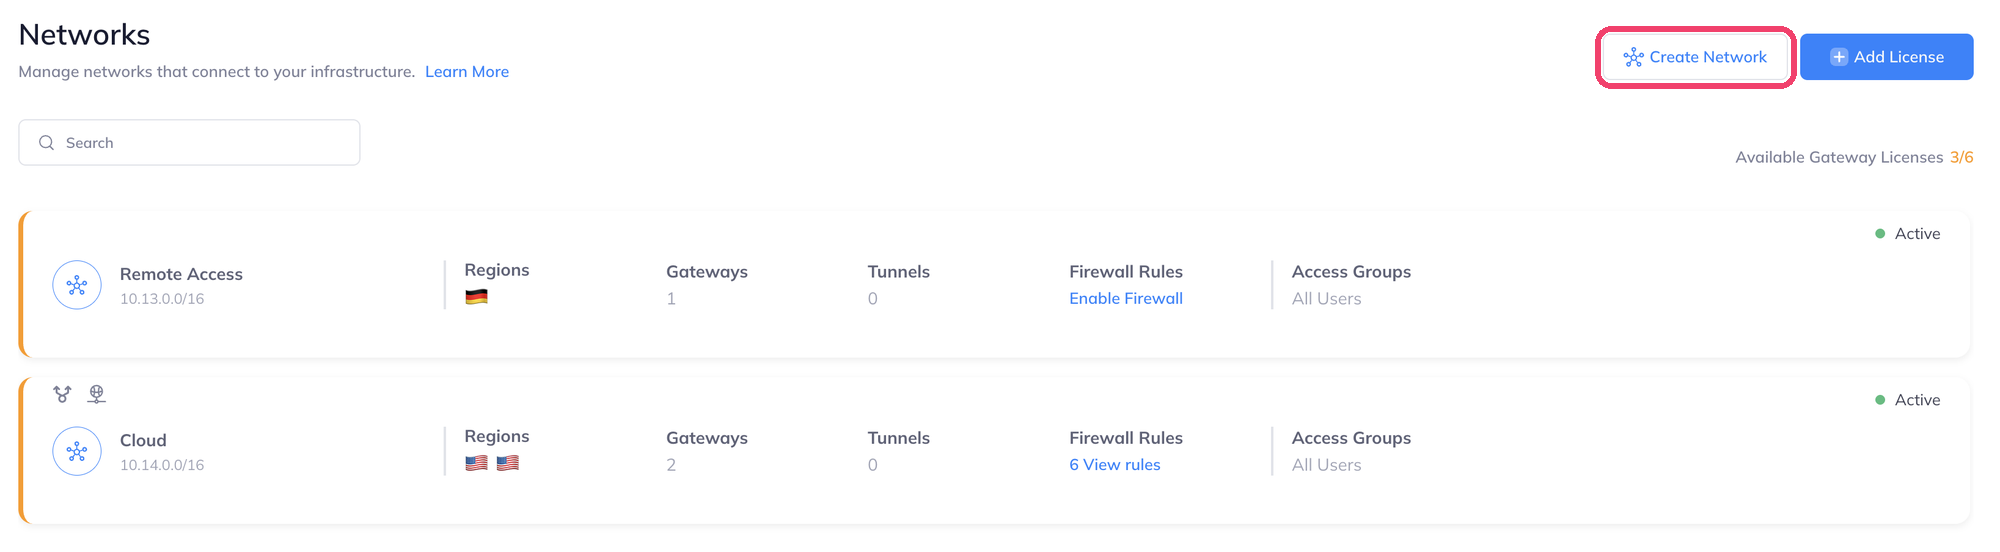
Each card shows the network's subnet, regions, number of gateways and tunnels, firewall status and the groups that can connect. Available Gateway Licenses shows how many gateway licenses are free. Every gateway uses one license. To buy more, click Add License.
Create a network
- On the Networks page, click Create Network.
-
Fill in the form:
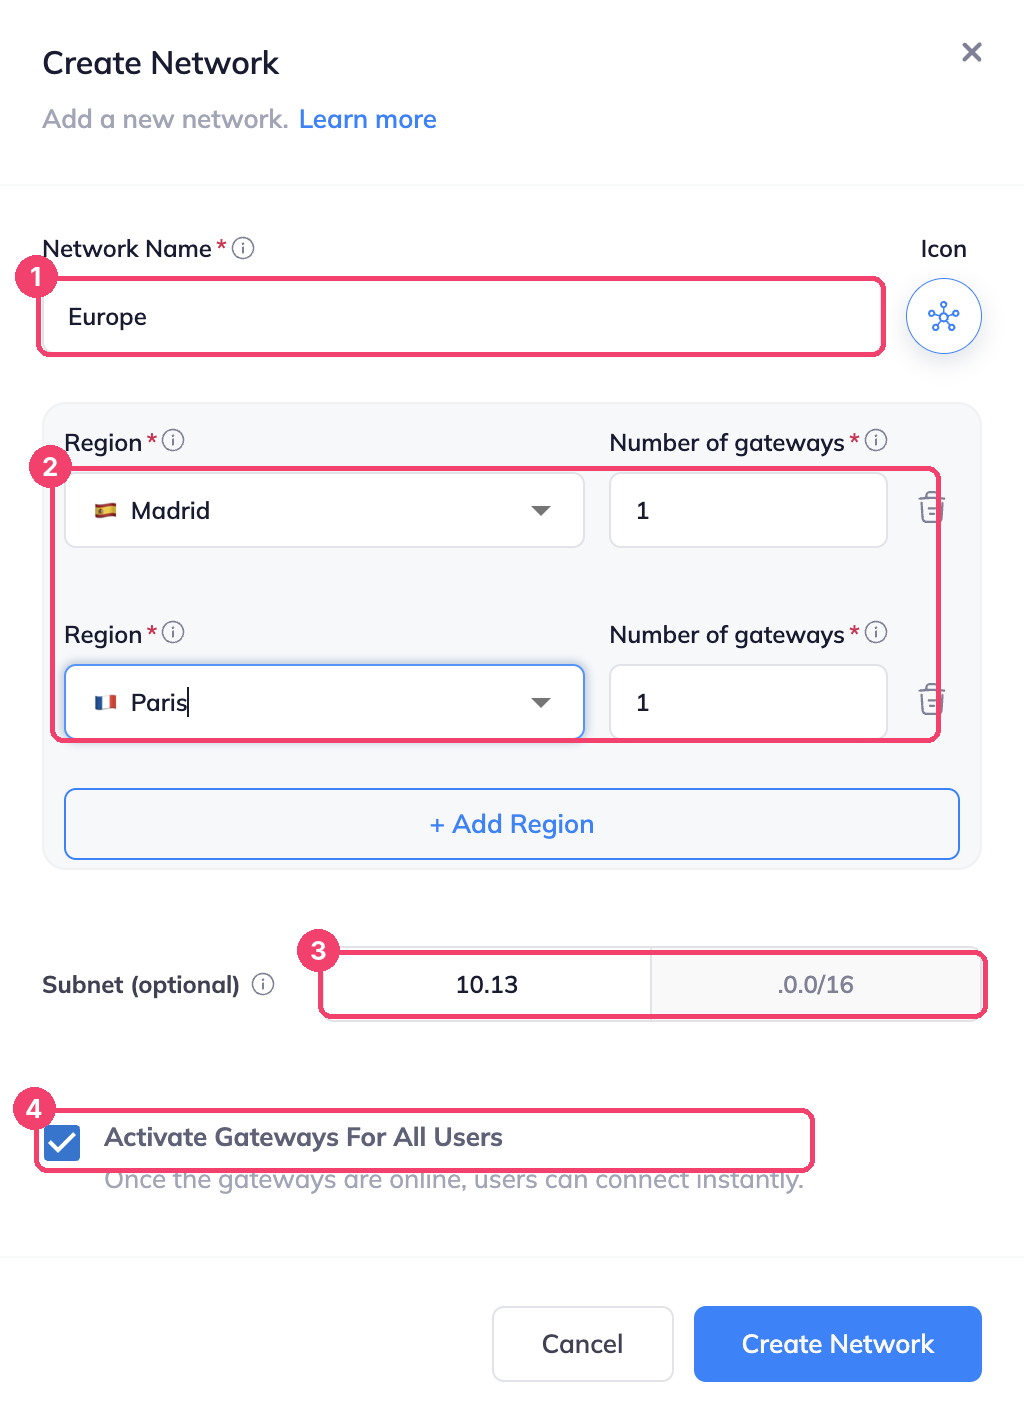
Field What to enter 1 Network Name A name your users will recognize in the agent, for example EuropeorRemote Access. Click the icon next to it to pick another icon.2 Region and Number of gateways Where the network runs and how many gateways it has there. Click + Add Region to add more regions. 3 Subnet (optional) The private address range of the network. Enter the first two numbers, for example 10.13, to get10.13.0.0/16. Leave it empty to use the default.4 Activate Gateways For All Users Keep it selected so users can connect as soon as the gateways are online. -
Click Create Network. The gateways take a few minutes to come online.
Pick the subnet carefully
You can't change the subnet after the network is created. It must not overlap with any network you'll connect to Vipilink, such as your office LAN or your cloud VPCs.
The network page
Click a network to open it. The page shows the network card at the top, and below it each region, its gateways and their tunnels.
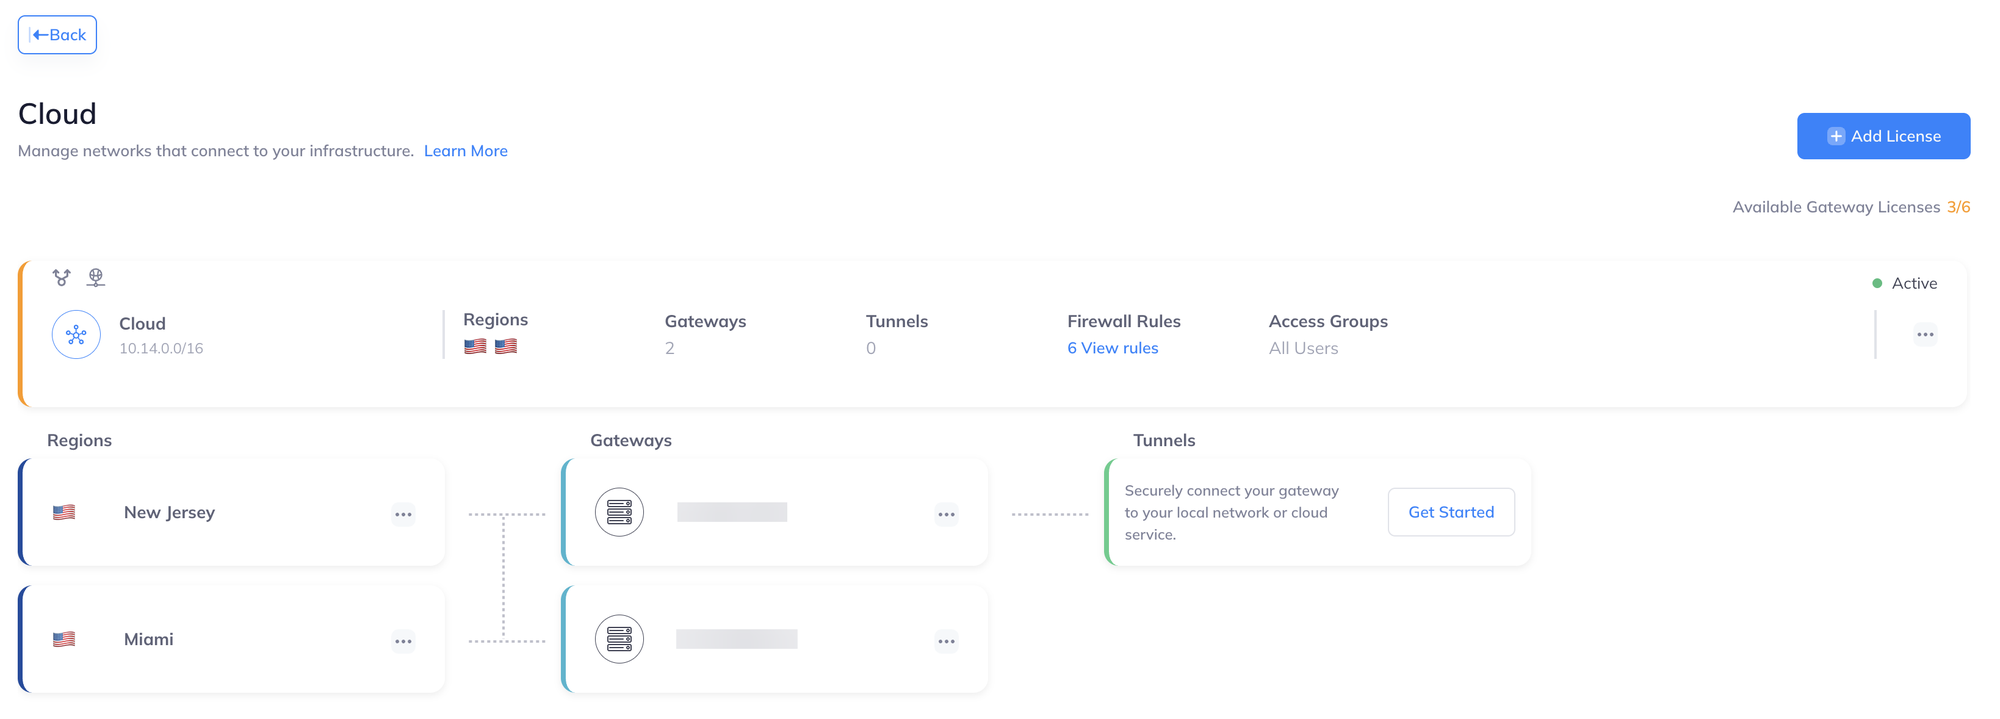
The two small icons above the network name show that split tunneling and private DNS are set.

Manage a network
Click the ... menu at the right of the network card.
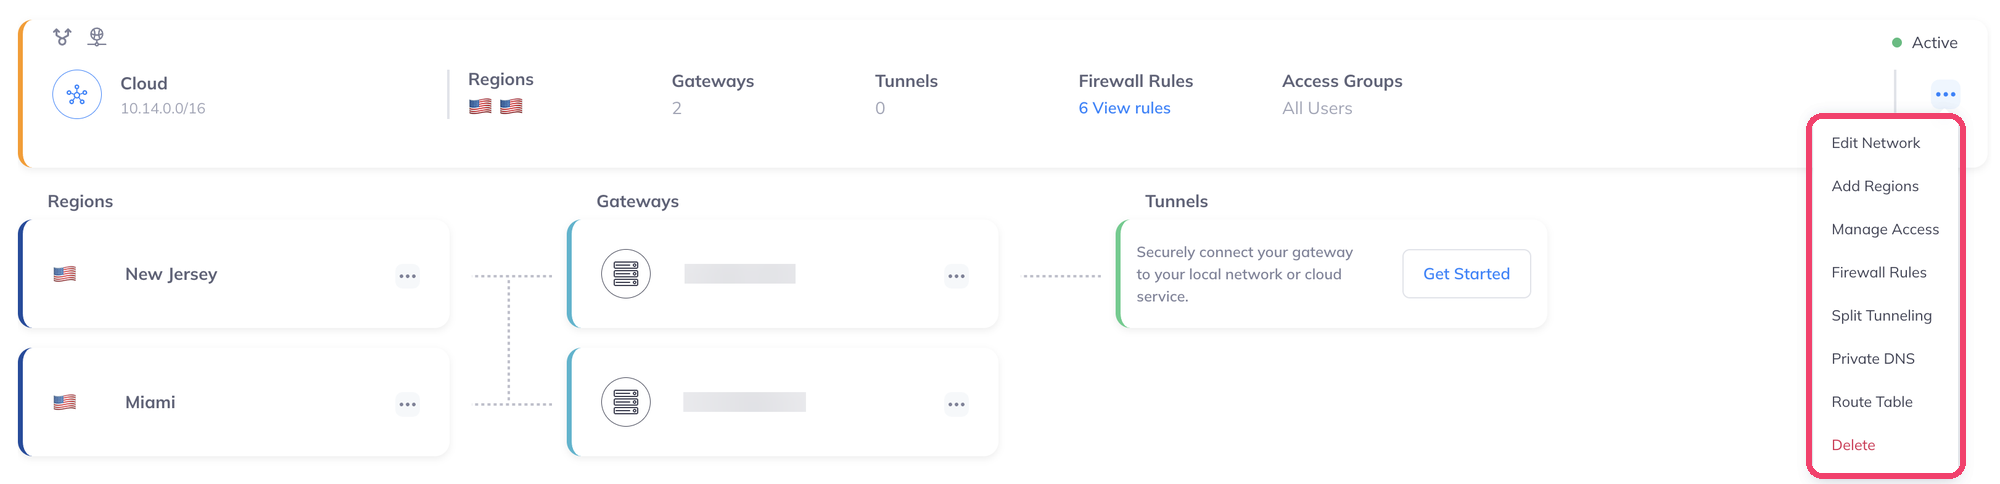
| Action | What it does |
|---|---|
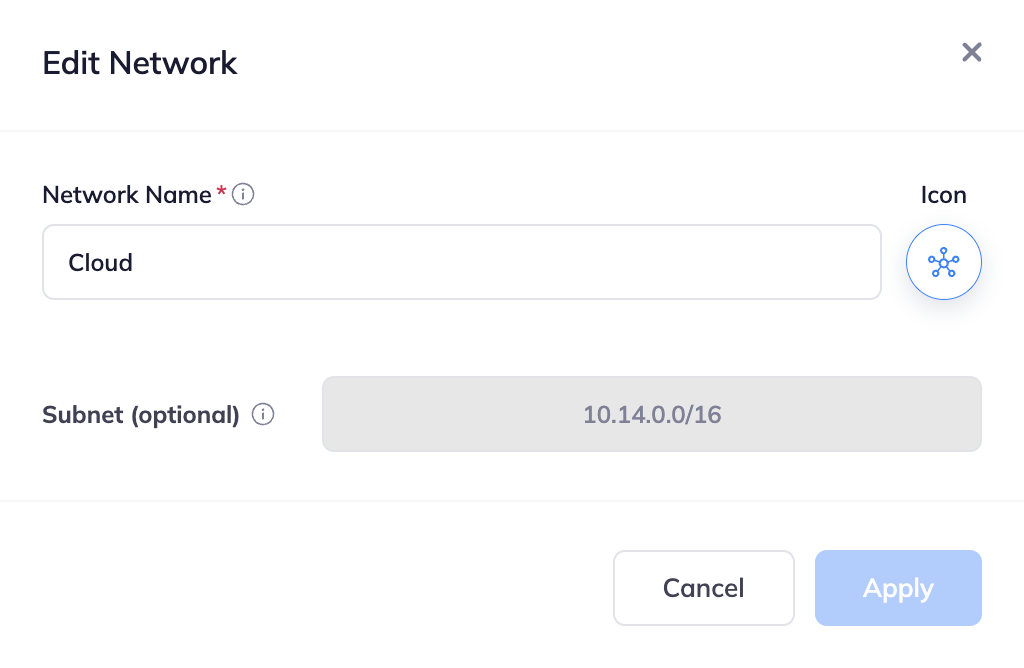
| Edit Network | Changes the name and icon. The subnet can't be changed. |
| Add Regions | Adds regions and gateways. See Add regions and gateways. |
| Manage Access | Chooses which groups can connect. See Choose who can connect. |
| Firewall Rules | Opens the firewall rules of this network. |
| Split Tunneling | Chooses which traffic goes through Vipilink. See Split tunneling. |
| Private DNS | Sets your own DNS servers. See Private DNS. |
| Route Table | Shows which subnets are reached through which tunnel. See Route table. |
| Delete | Deletes the network. |
Choose who can connect
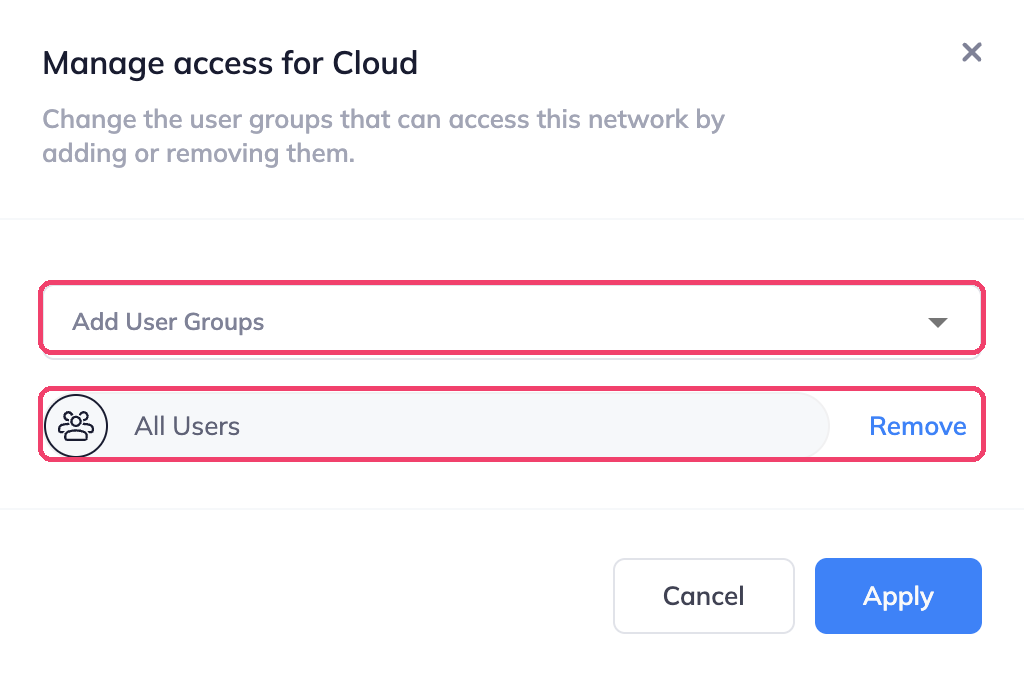
- In the network menu, click Manage Access.
- Choose groups in Add User Groups. To take access away from a group, click Remove next to it.
- Click Apply.
You can also do this from the group's side. See Groups.
Add regions and gateways
More regions bring gateways closer to your users. More gateways in a region add capacity and are needed for redundant tunnels.
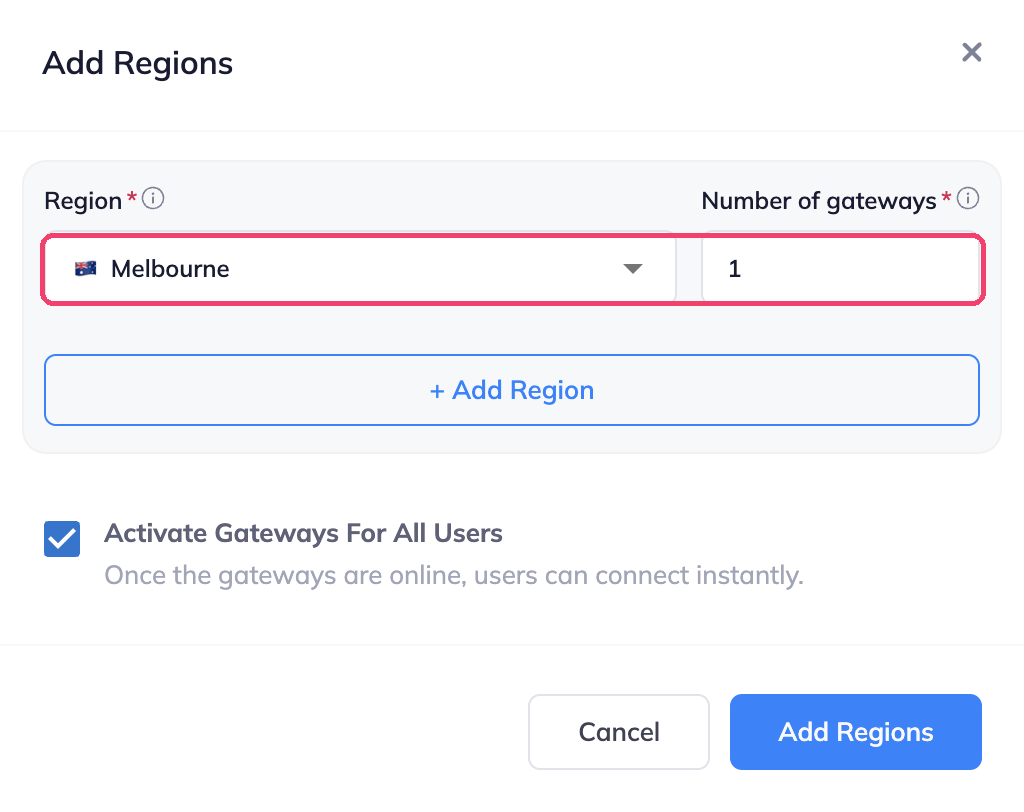
To add a region: in the network menu, click Add Regions, choose the region and the number of gateways, and click Add Regions.
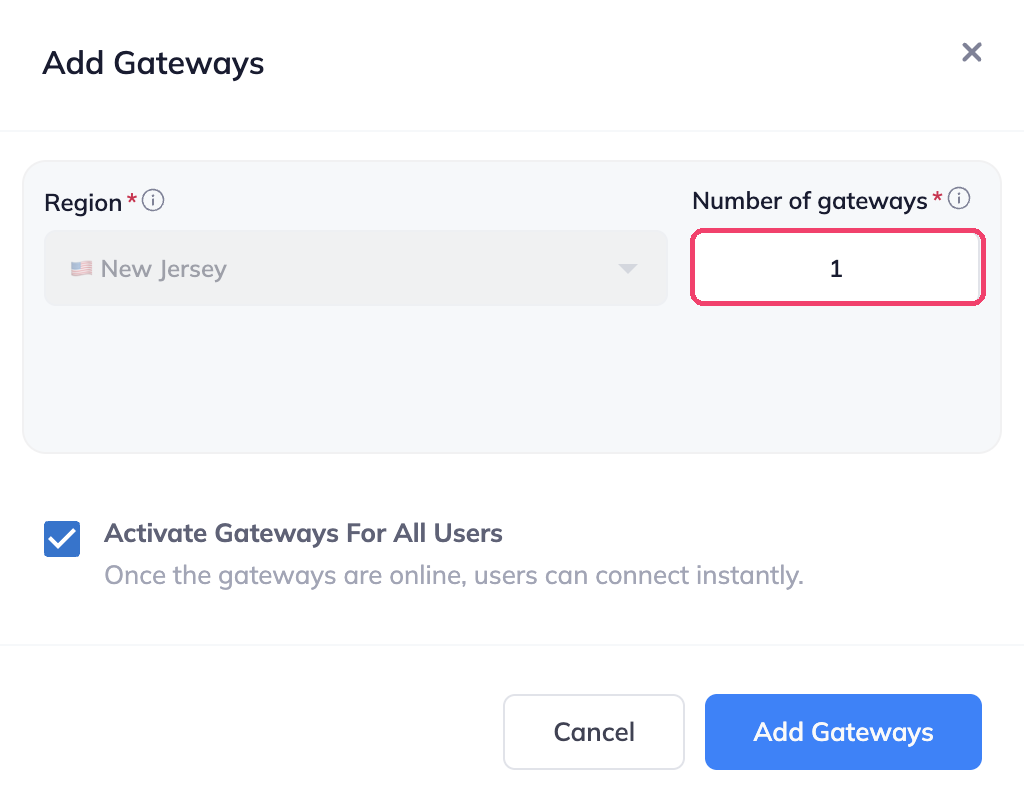
To add gateways to a region: click the ... menu on the region card and choose Add Gateways. Enter the number of gateways and click Add Gateways.
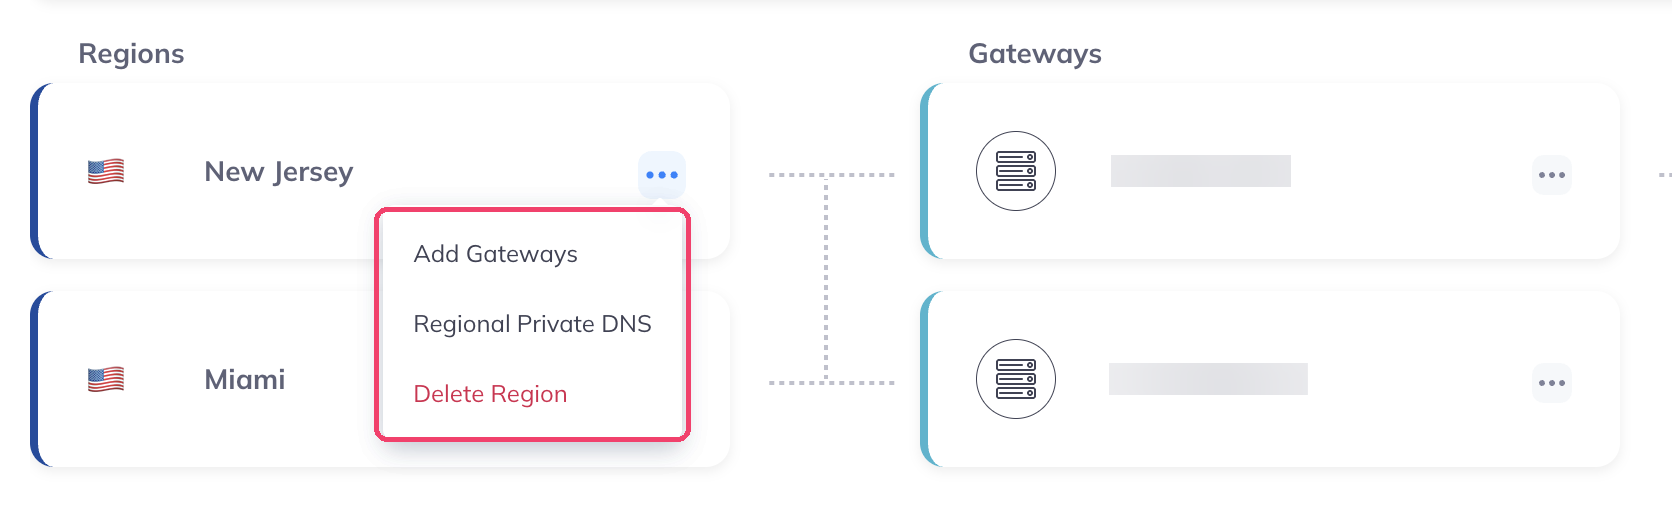
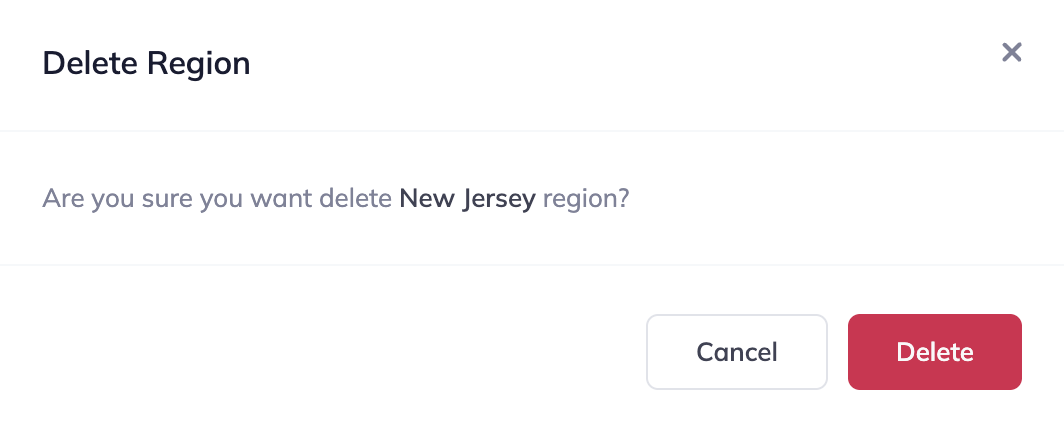
The region menu also has Regional Private DNS, see Private DNS, and Delete Region.
Manage a gateway
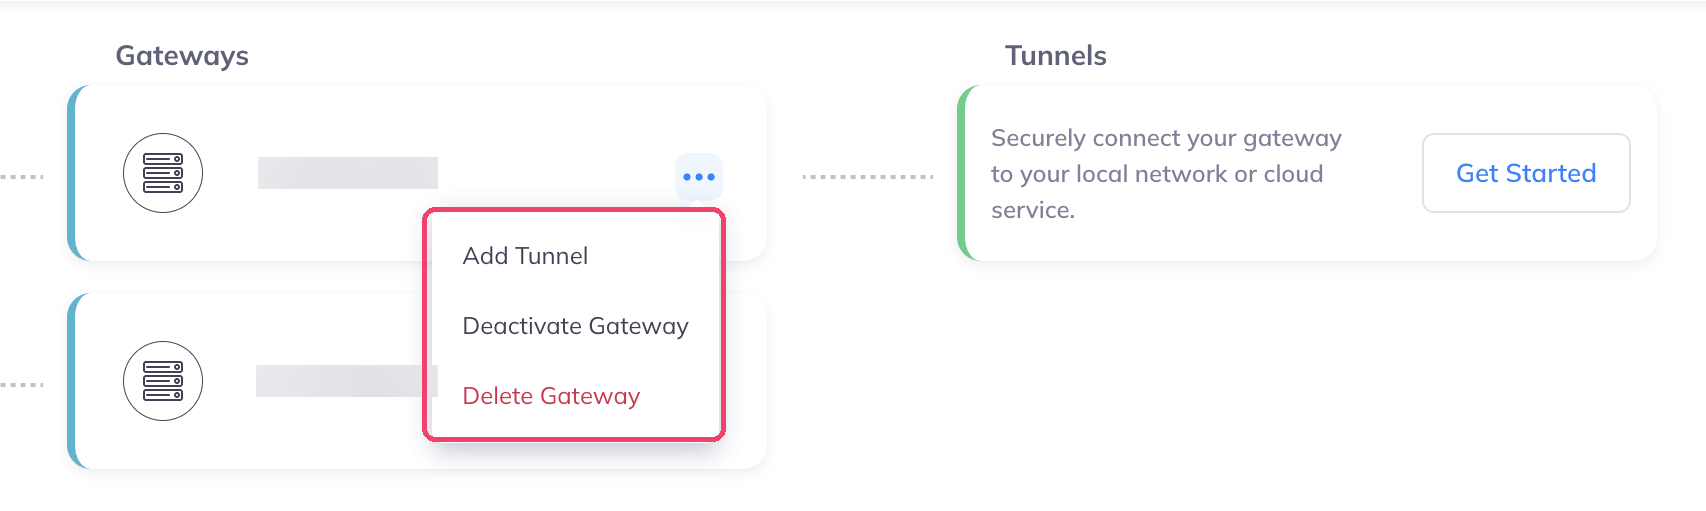
Click the ... menu on a gateway card.
| Action | What it does |
|---|---|
| Add Tunnel | Connects the gateway to your cloud or office. See Add a tunnel. |
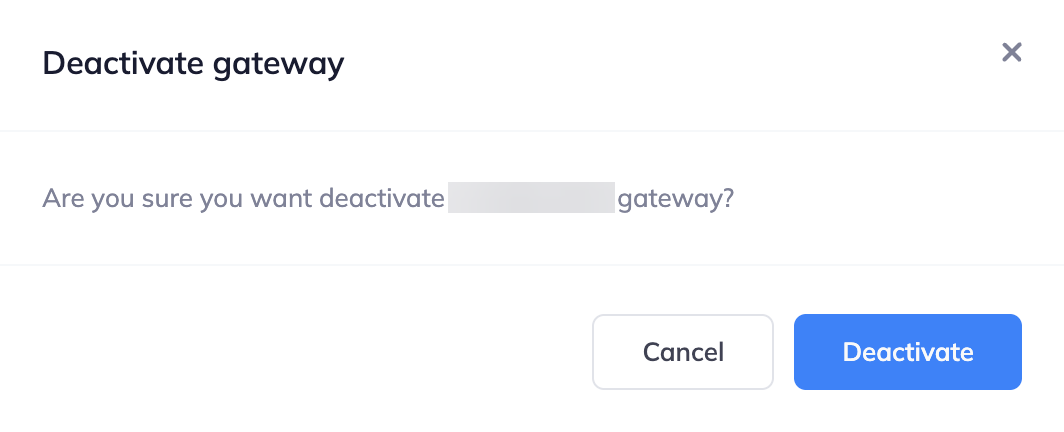
| Deactivate Gateway | Stops users from connecting through this gateway. You confirm before it takes effect. |
| Delete Gateway | Removes the gateway and frees its license. |
Add a tunnel
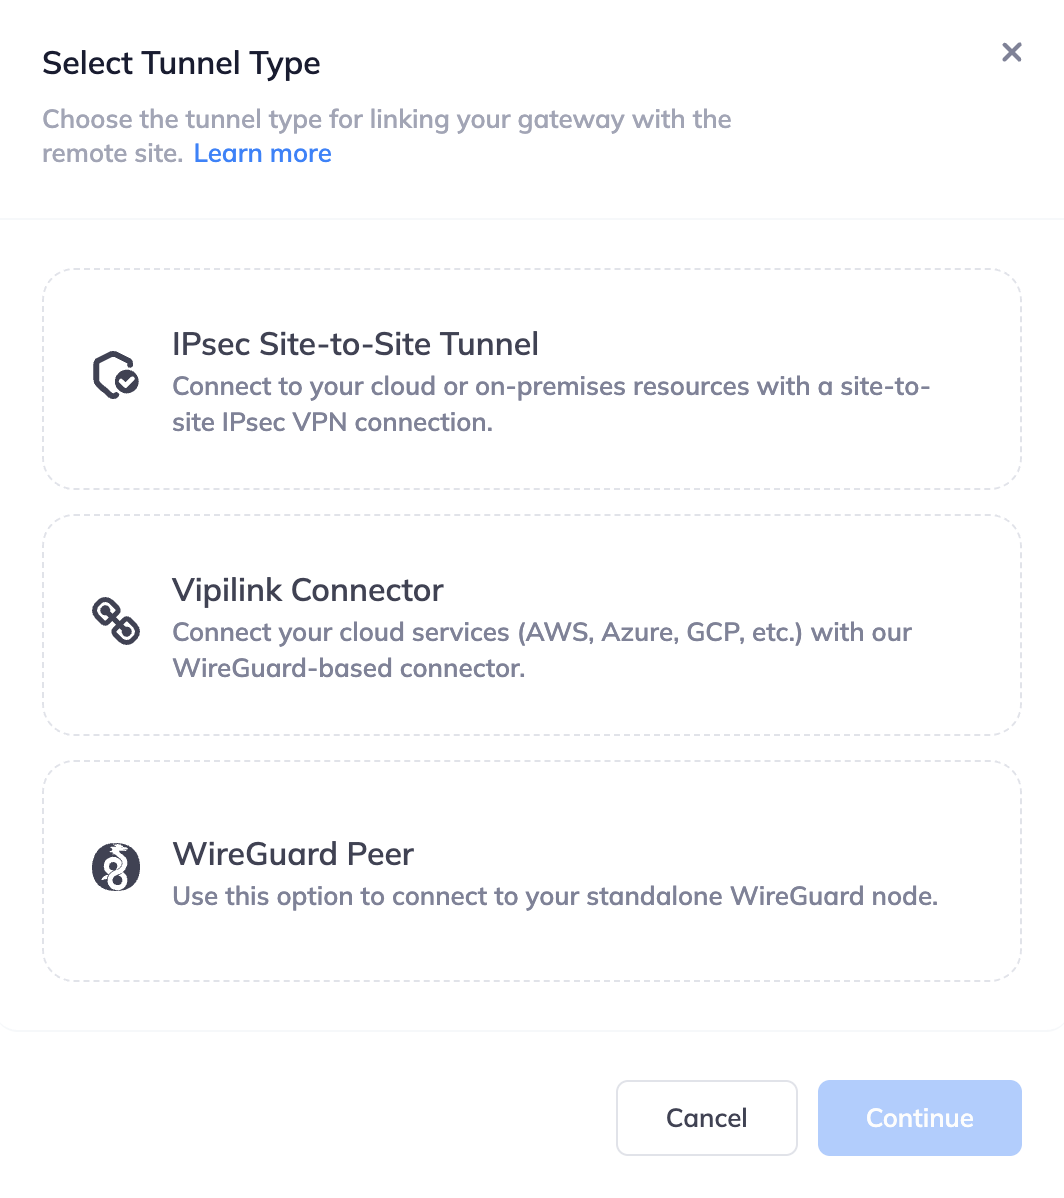
A tunnel connects a gateway to a network outside Vipilink, such as an AWS VPC or your office. Click Add Tunnel in the gateway menu, or Get Started in the Tunnels column, and choose the type:
| Type | Use it for |
|---|---|
| IPsec Site-to-Site Tunnel | A firewall, router or cloud VPN gateway that supports IPsec. See Site-to-site VPN. |
| Vipilink Connector | A Linux machine in your cloud or office that runs the Vipilink connector. See Vipilink Connector. |
| WireGuard Peer | A WireGuard server you already run. See WireGuard Peer. |