Install the agent
The Vipilink agent is the app your users run to connect to your Vipilink networks. It's available for Windows, macOS, iOS and Android.
Download the agent
Go to Devices → Downloads. Each row shows the operating system, the current version and a checksum.
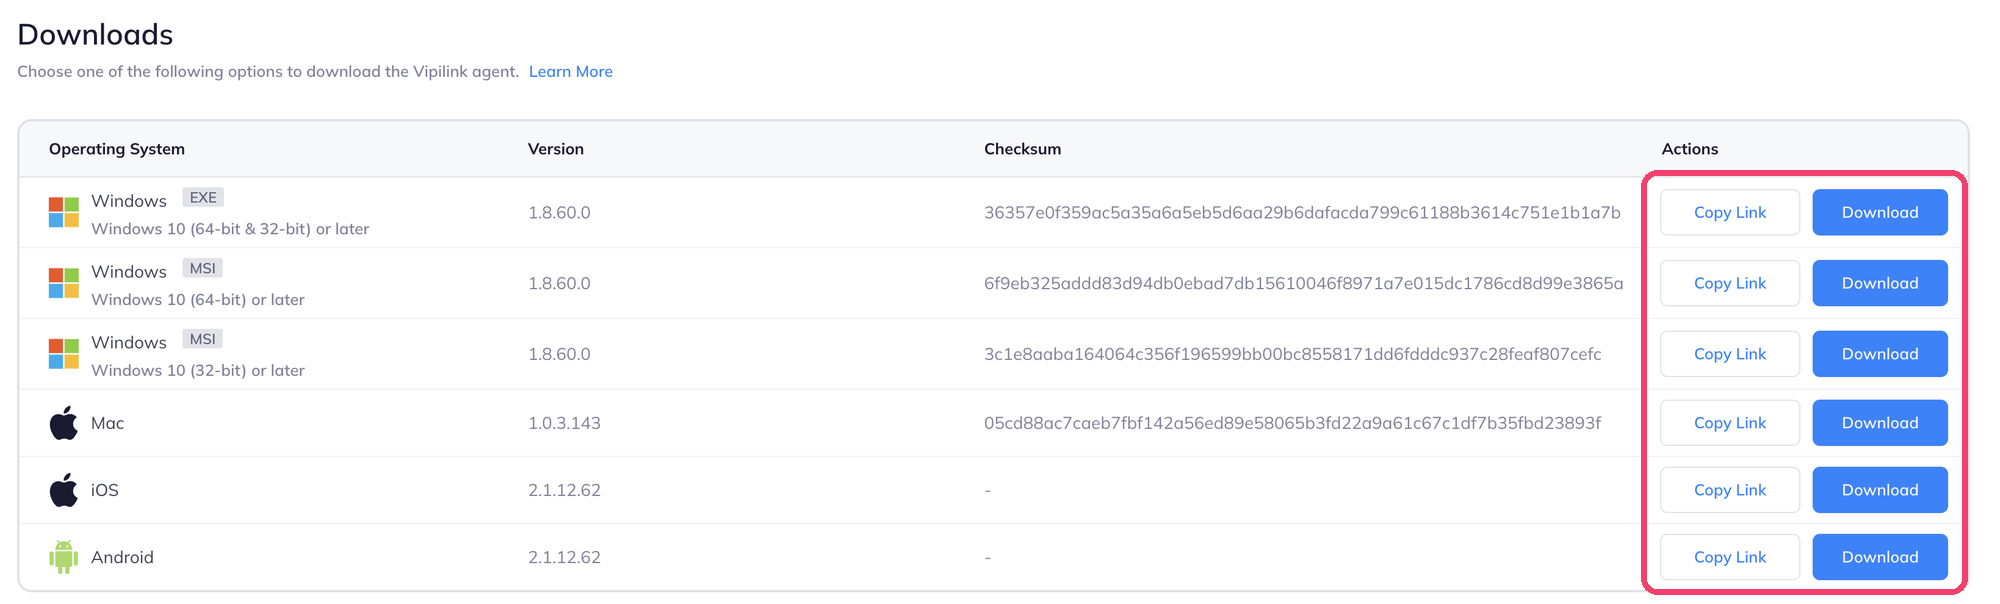
| Action | What it does |
|---|---|
| Download | Downloads the installer to the computer you're using. |
| Copy Link | Copies a download link you can send to your users or use in your device management tool. |
Choose the installer that fits the device:
| Installer | Use it for |
|---|---|
| Windows EXE | Most Windows computers. One installer for 64-bit and 32-bit Windows 10 or later. |
| Windows MSI (64-bit or 32-bit) | Installing with a device management tool, for example Microsoft Intune or Group Policy. |
| Mac | macOS. The download is a .dmg file. |
| iOS and Android | Phones and tablets. |
Check the download
The Checksum column shows the SHA-256 checksum of each installer. To make sure a download is complete and unchanged, compare it with the checksum of your file:
Use the name of the file you downloaded.
Install on Windows
-
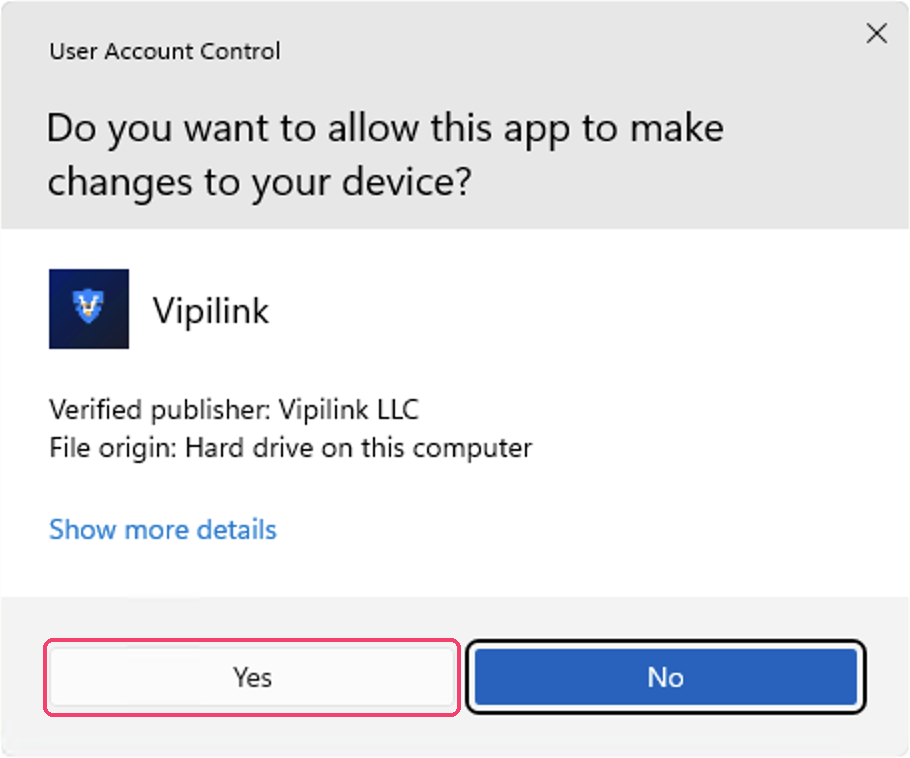
Double-click the installer. Windows asks if you want to allow the app to make changes to your device. Check that the publisher is Vipilink LLC and click Yes.
-
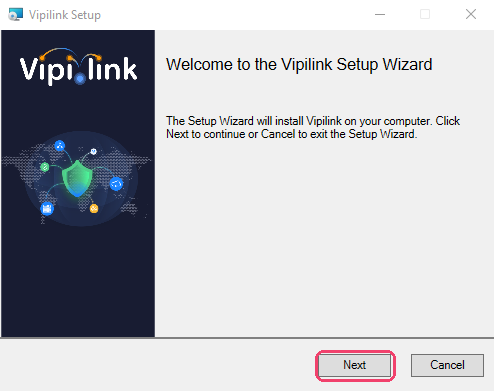
On the welcome screen, click Next.
-
Keep the default folder,
C:\Program Files\Vipilink, or click Change to pick another one. Click Next.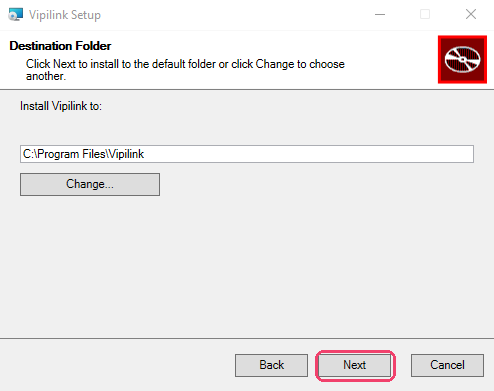
-
Leave Create desktop shortcut and Launch after install selected and click Finish.
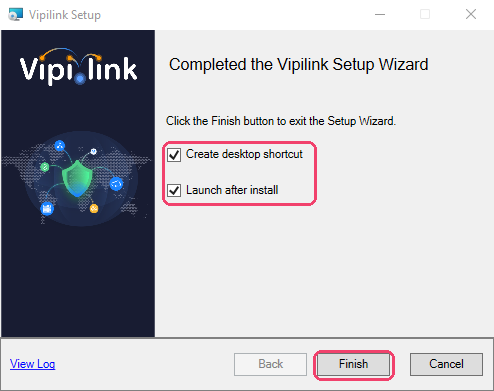
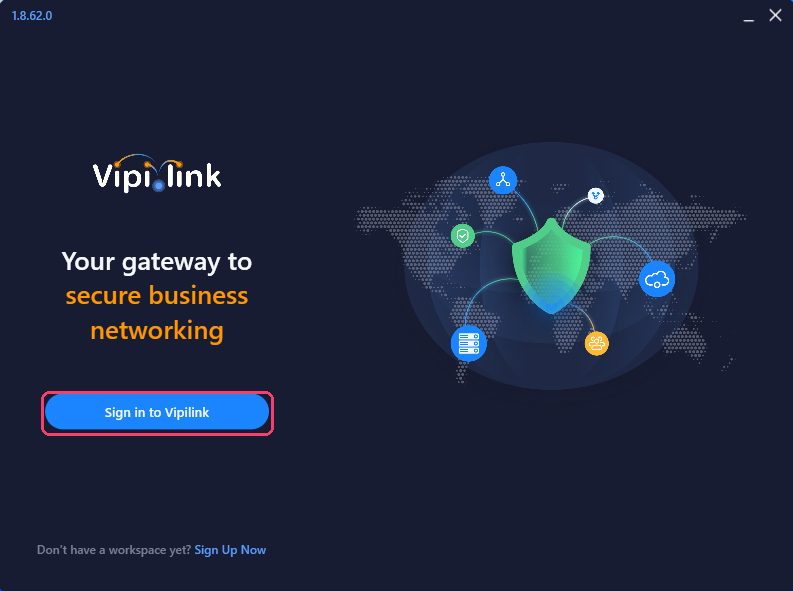
The agent opens. Continue with Sign in.
Install on macOS
- Open the downloaded
.dmgfile. - Drag Vipilink into the Applications folder.
- Open Vipilink from Applications.
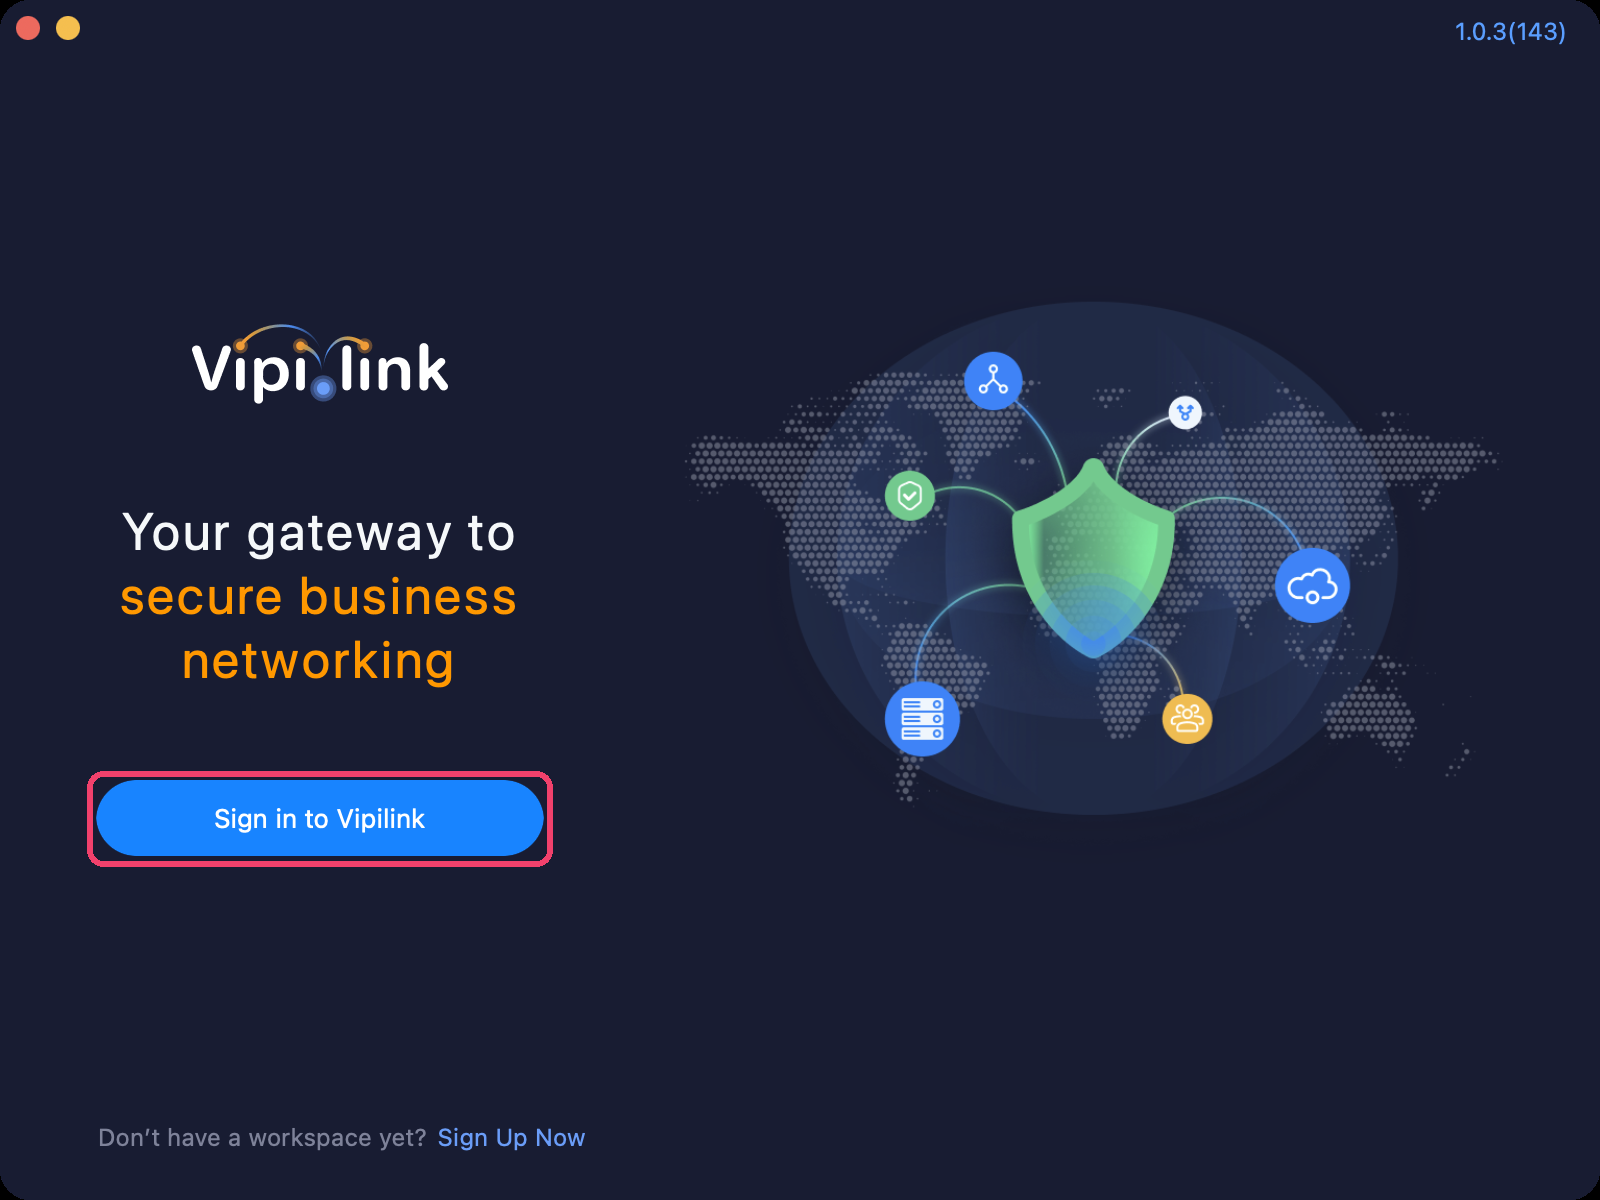
Continue with Sign in.
Install on iOS and Android
On the phone or tablet, open the link from the Downloads page and install the app. Then open Vipilink and continue with Sign in.
Sign in
Signing in works the same way on every platform. The agent opens your web browser for it.
- In the agent, click Sign in to Vipilink. Your browser opens the Vipilink sign-in page.
-
Enter your Workspace URL, the part before
.vipilink.com, and click Next.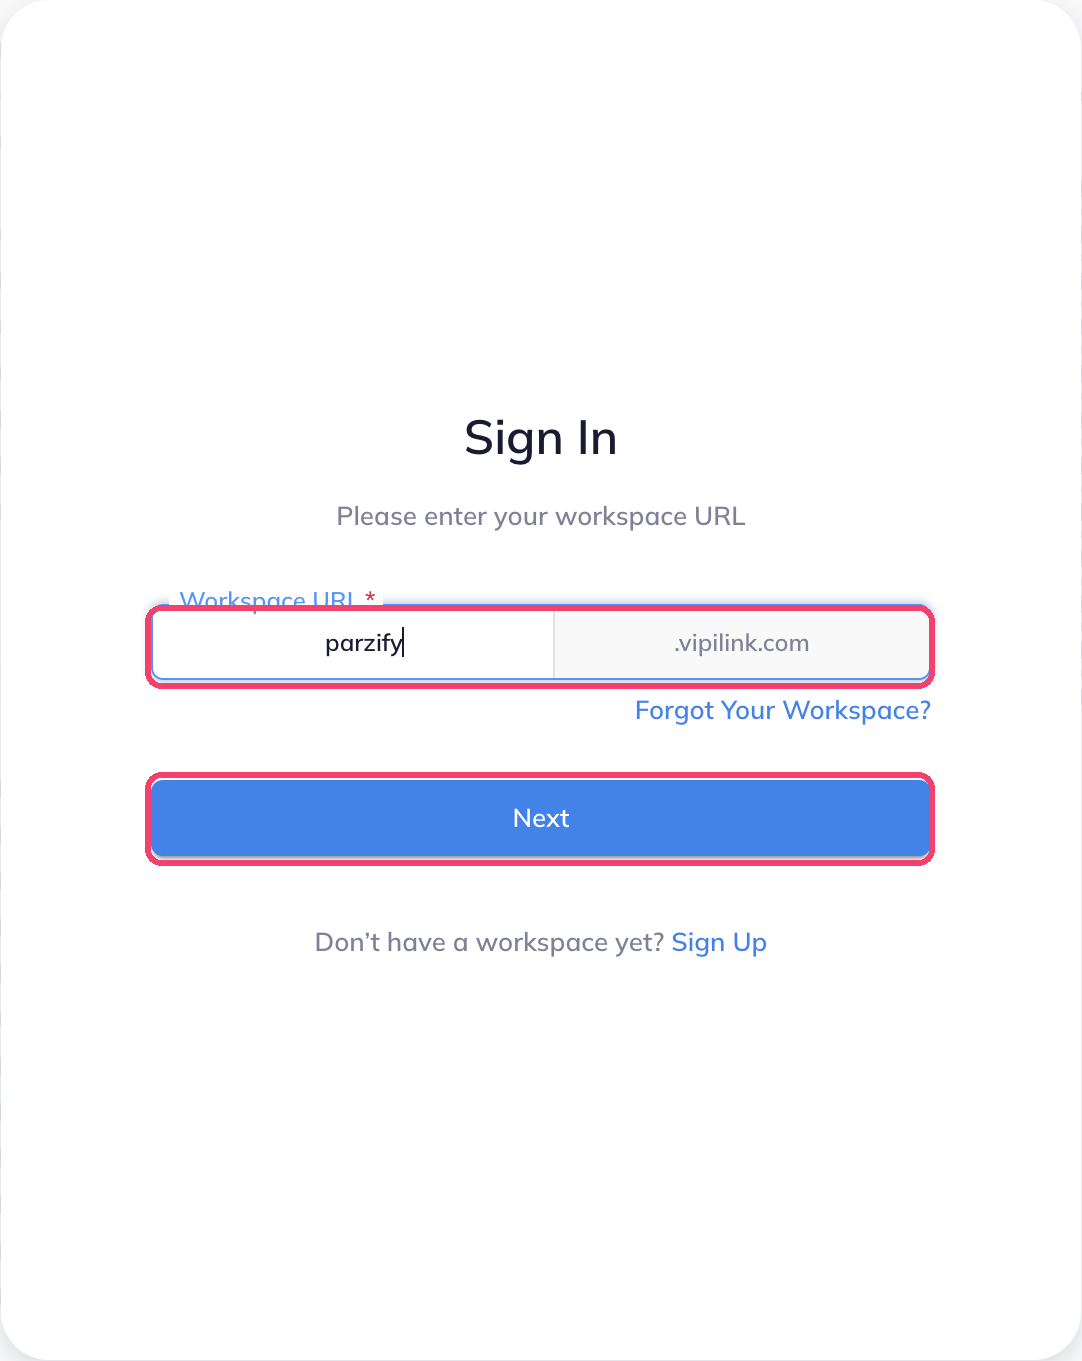
Tip
Forgot your workspace? Click Forgot Your Workspace? under the field, or ask your admin.
-
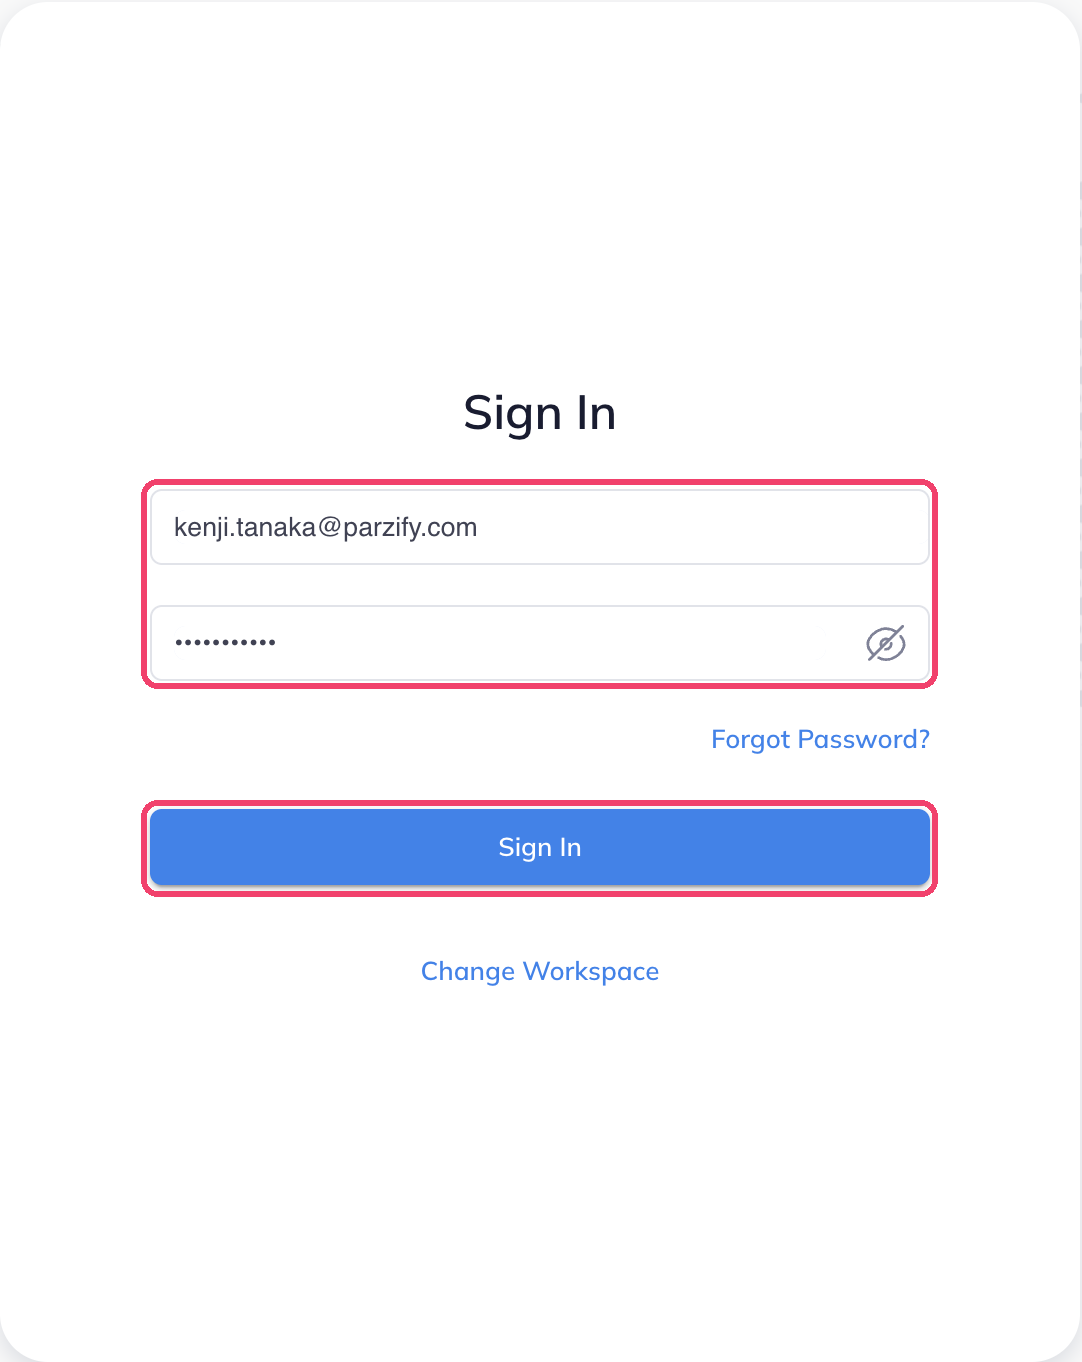
Enter your email and password and click Sign In. If your workspace uses an identity provider, such as Google Workspace, Microsoft Entra ID or Okta, sign in with that account instead.
-
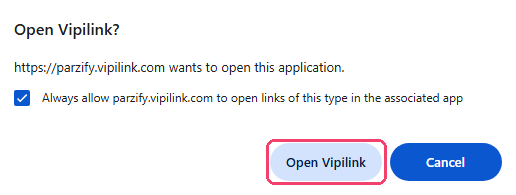
The browser asks to open Vipilink. Click Open Vipilink. To skip this question next time, keep Always allow selected.
The agent shows Checking servers… for a moment, then opens its home screen.
Connect
-
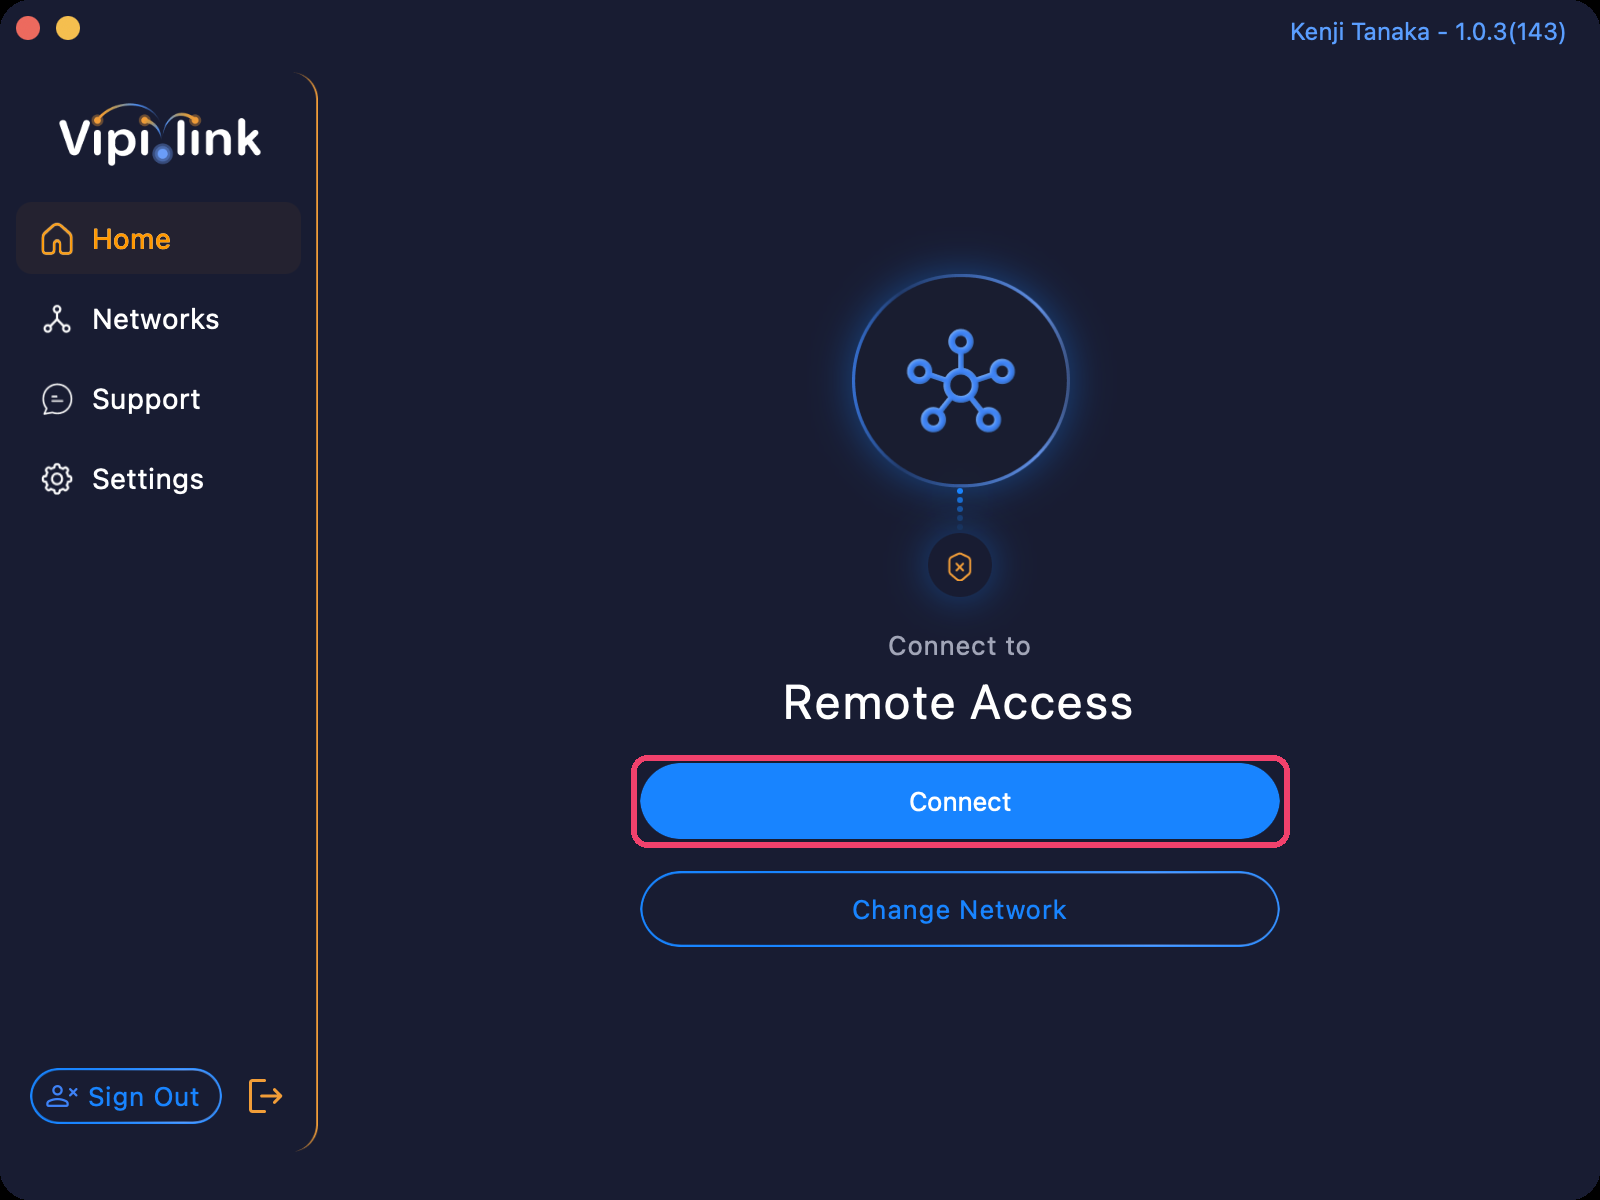
On the home screen, click Connect. The agent connects to the network shown, for example Remote Access. To pick another network, click Change Network.
-
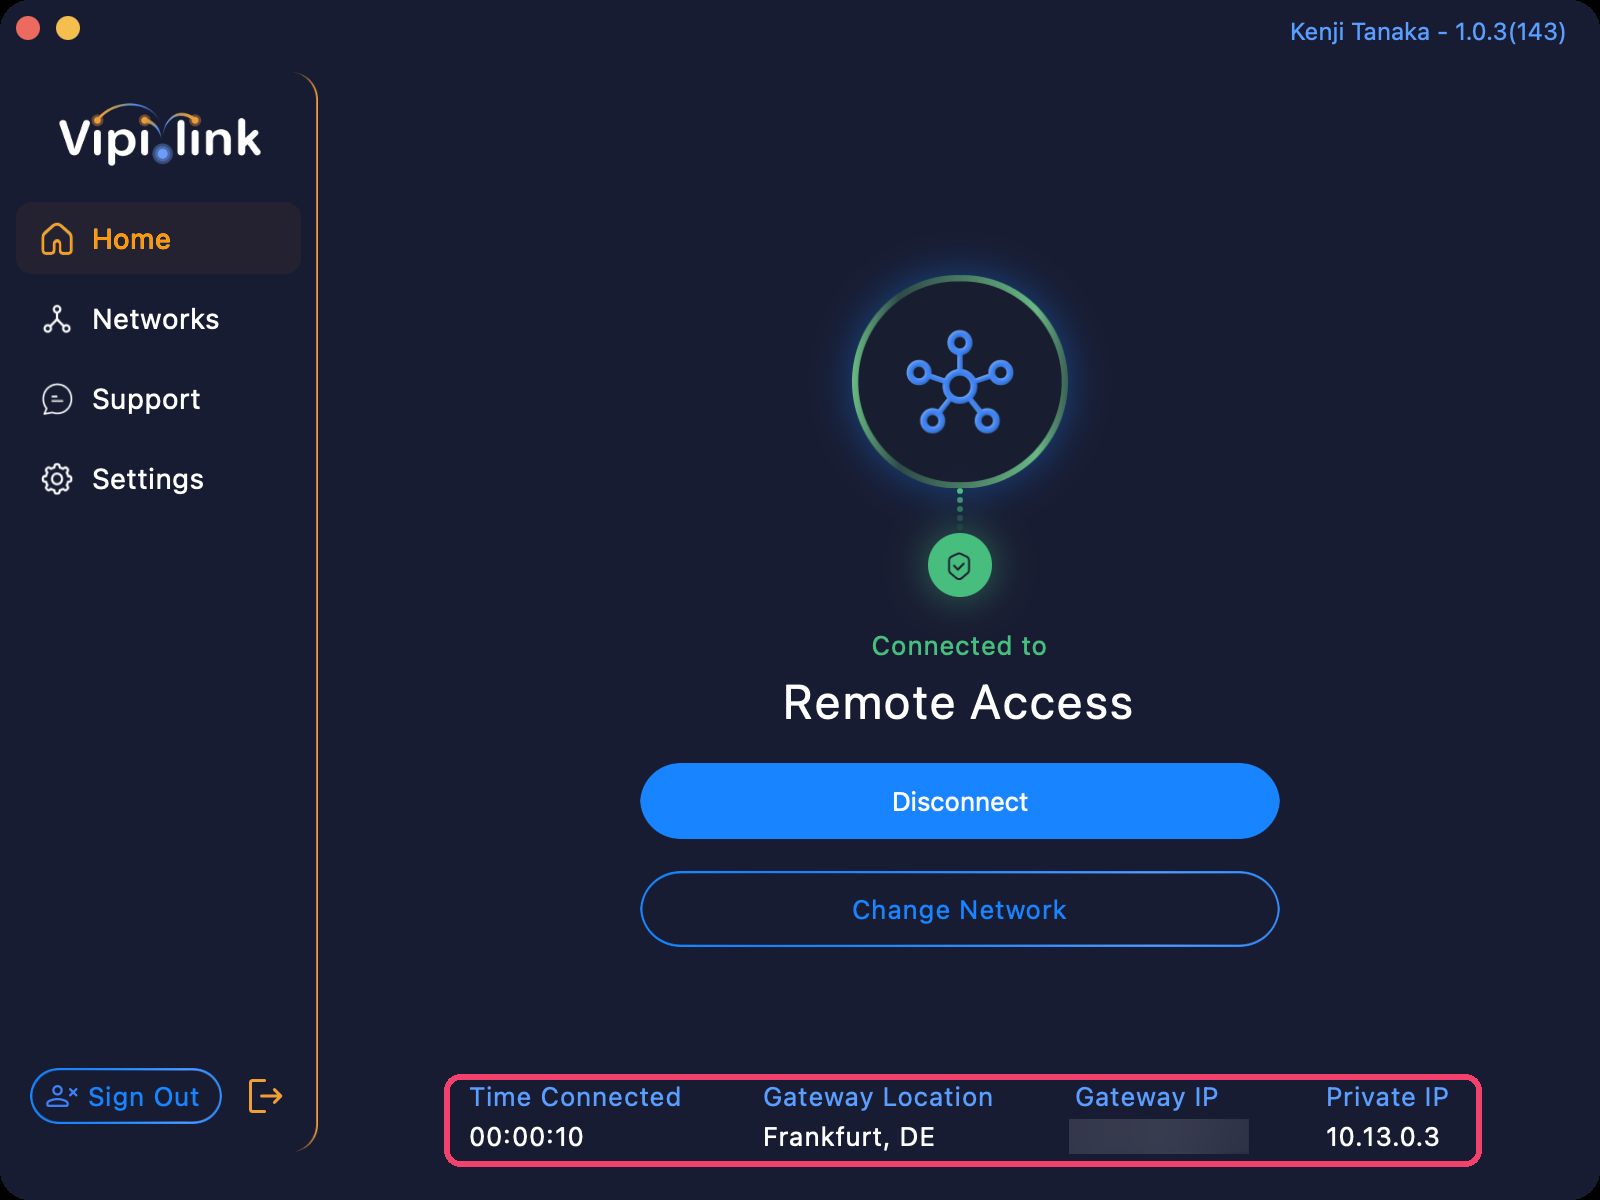
When the agent is connected, it shows Connected to and the network name. The bottom row shows how long you've been connected, the gateway location and IP, and your private IP in the network.
Admins can control how the agent behaves, for example connect automatically or block signing out, with user profiles.