AWS Virtual Gateway
1. Creating the tunnel in the AWS Console
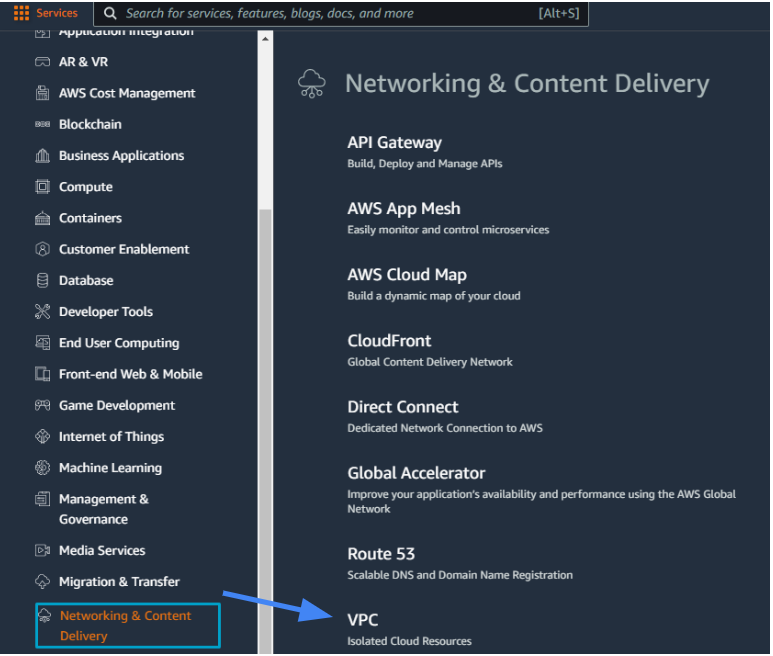
1.1 Log in to AWS Console, navigate to Services/Networking & Content Delivery/VPC.
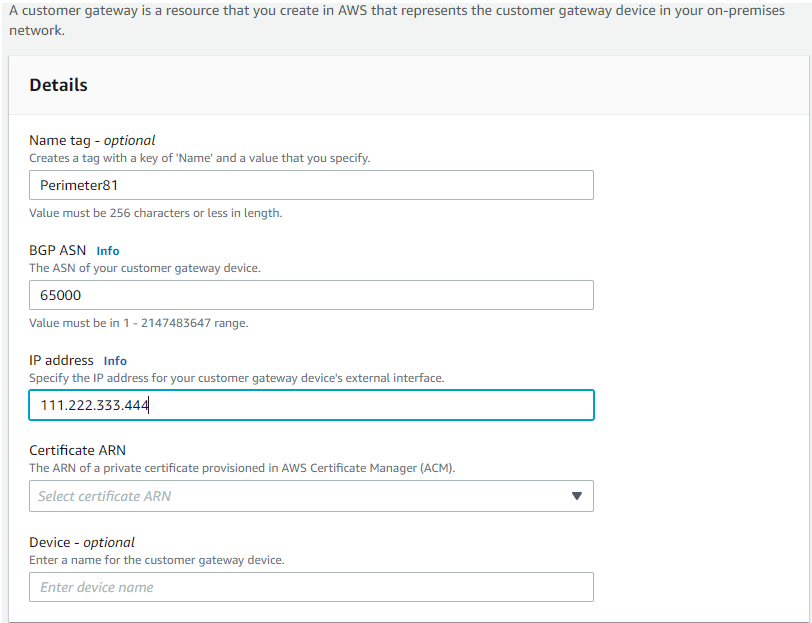
1.2 Under Virtual Private Network (VPN) create Customer Gateway.

-
Name tag - optional - Vipilink
-
Routing Options - Static
-
IP Address - Specify the IP address for your customer gateway device's external interface
-
Certificate ARN - The ARN of a private certificate provisioned in AWS Certificate Manager (ACM)
-
Device - optional - Enter a name for the customer gateway device
2. Creating a virtual private gateway
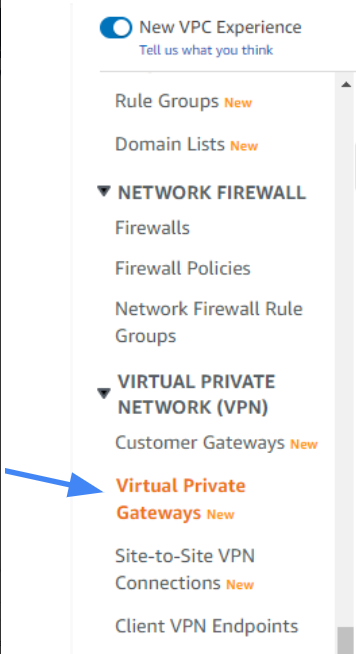
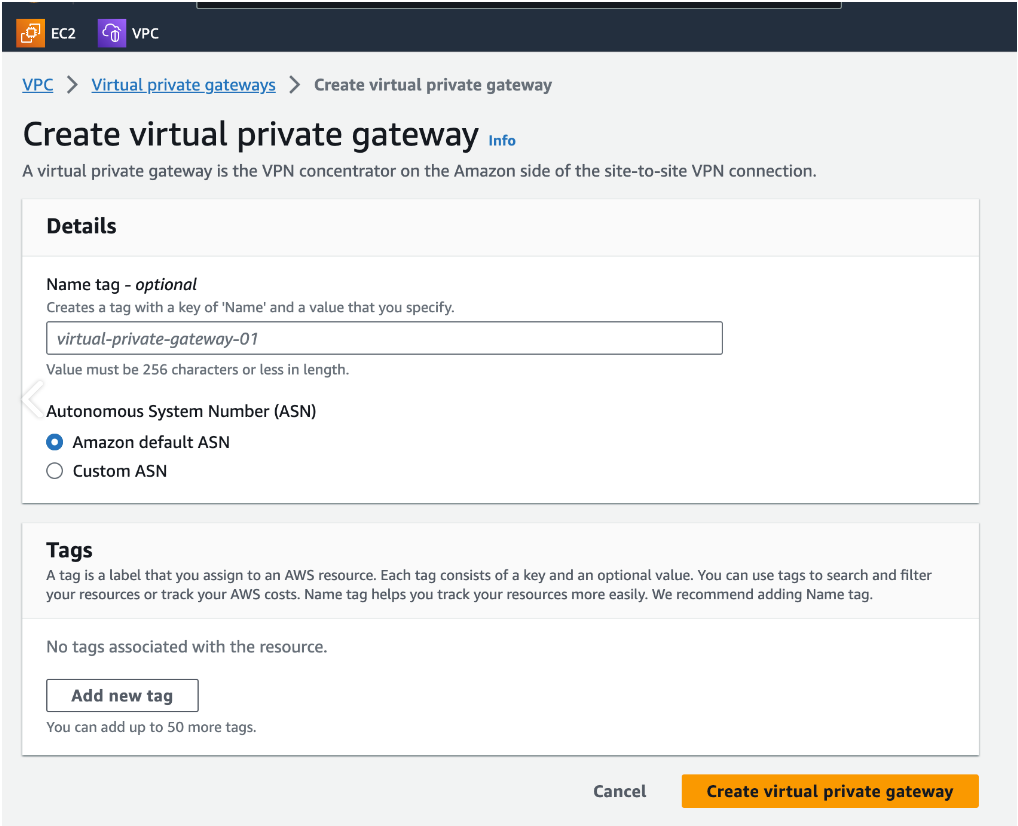
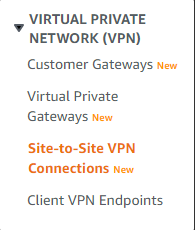
2.1 Go to Services/Networking & Content Delivery/VPC, at the left menu select Virtual Private Network (VPN)/Virtual Private Gateways and add new.
-
Name tag - optional - Vipilink virtual gateway
-
Autonomous System Number (ASN) - Amazon default ASN
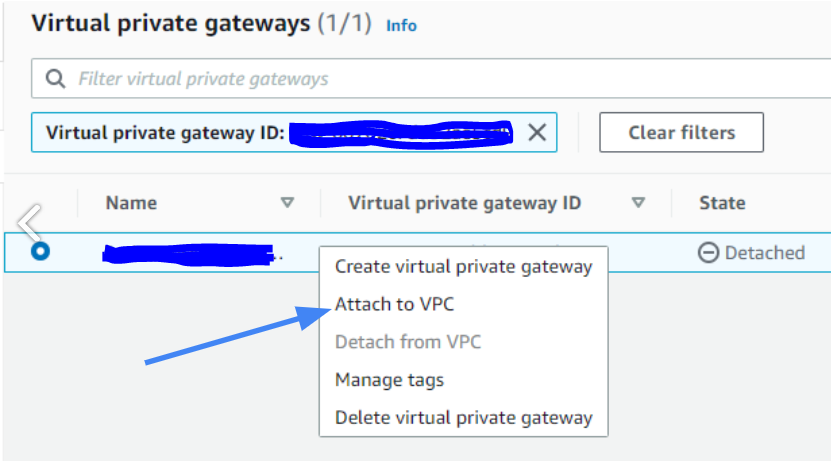
2.2 Select created gateway and in Actions choose Attach to VPC. From the menu select created VPC.
3. Creating a virtual private network connection
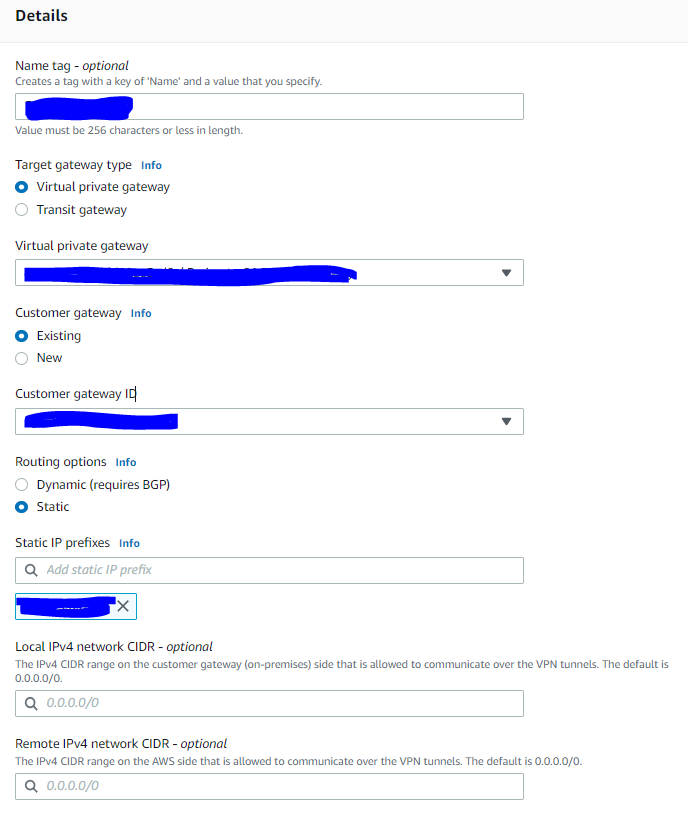
3.1 Go to Services/Networking & Content Delivery/VPC, at the left menu select Virtual Private Network (VPN)/Site-to-Site VPN Connections and create a new connection.
-
Name tag - optional - Vipilink VPN
-
Target gateway type - Virtual private gateway
-
Virtual private gateway - choose the gateway created in the Step 2
-
Customer gateway - existing
-
Customer gateway ID - choose the gateway created in the Step 1
-
Static IP prefixes - Vipilink local network
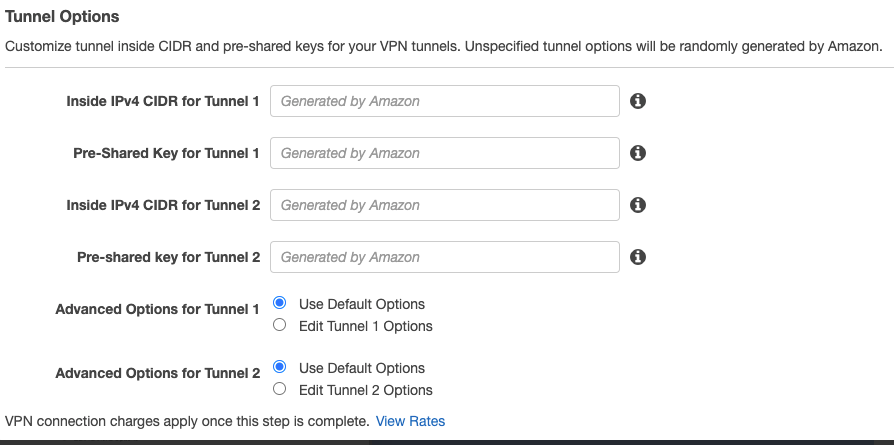
3.2 In the Tunnel Options set the DPD Timeout to 60. You can also able to customize tunnel inside CIDR and PSK for VPN tunnel. If the configurations is default - it will accept any encryption suite for handshake with Vipilink Gateway.
4. Create the routing rules
4.1 Navigate to Virtual Private Cloud/Your VPCs and enter to routing table associated to VPC.

4.2. In Route tables menu again select the same route table and edit it. Add a route to Vipilink Local Subnet as a destination and VPN Gateway ID as a target.

5. Creating tunnel in Vipilink Portal
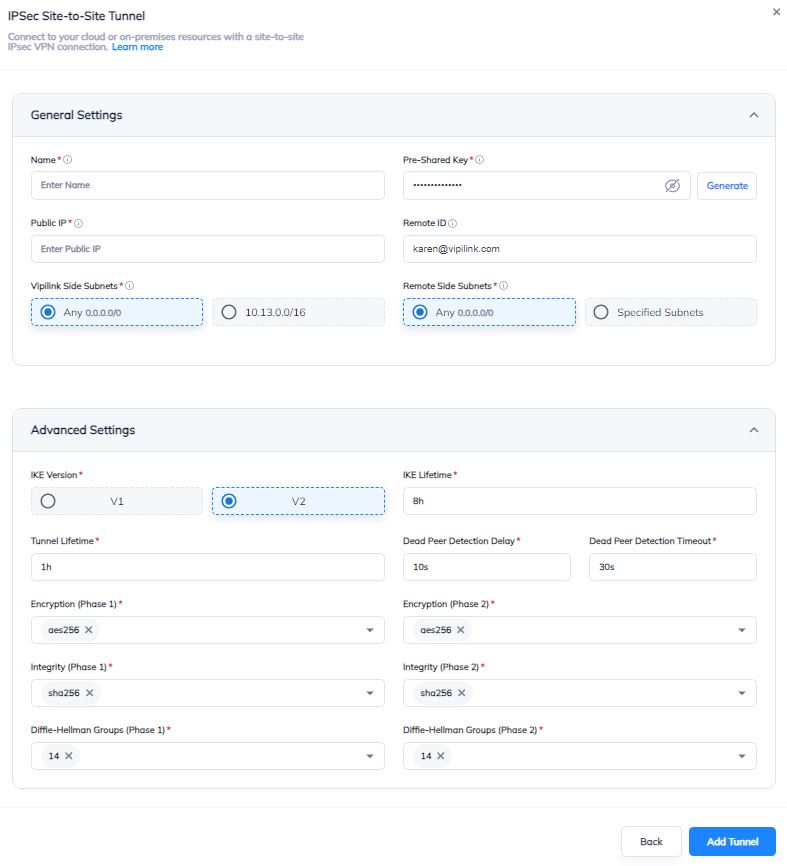
5.1 Log in to Vipilink Portal and navigate to Networks, select the network and the gateway. Click on three-dotted menu (...) and Add Tunnel. Choose IPSec Site-2-Site Tunnel and create new tunnel.
General Settings Values
-
Name - AWS_Tunnel
-
Public IP - AWS VPC Public IP
-
Vipilink Side Subnets - 0.0.0.0/0
-
Pre-Shared Key - PSK generated at AWS
-
Remote ID - AWS VPC Public IP
-
Remote Side Subnets - 0.0.0.0
Advanced Settings Values
-
Ike Version - v2
-
Tunnel Lifetime - 1h
-
Encryption (Phase 1) - aes256
-
Integrity (Phase 1) - sha256
-
Diffie-Helman Groups (Phase 1) - 14
-
Ike Lifetime - 8h
-
Dead Peer Detection Delay - 10s
-
Dead Peer Detection Timeout - 30s
-
Encryption (Phase 2) - aes256
-
Integrity (Phase 2) - sha256
-
Diffie-Helman Groups (Phase 2) -14
5.2 Click on three-dotted menu (...) and add route to Routes Table. Subnet is AWS local network.
6.1 Verify connectivity between local and remote networks.
-
Use tools like ping or traceroute to check the connection
-
Ensure that resources on the remote network (e.g., shared folders, servers) are accessible from the local network.