AWS Dual Tunnel - Transit Gateway
1. Creating the transit gateway in the AWS Console
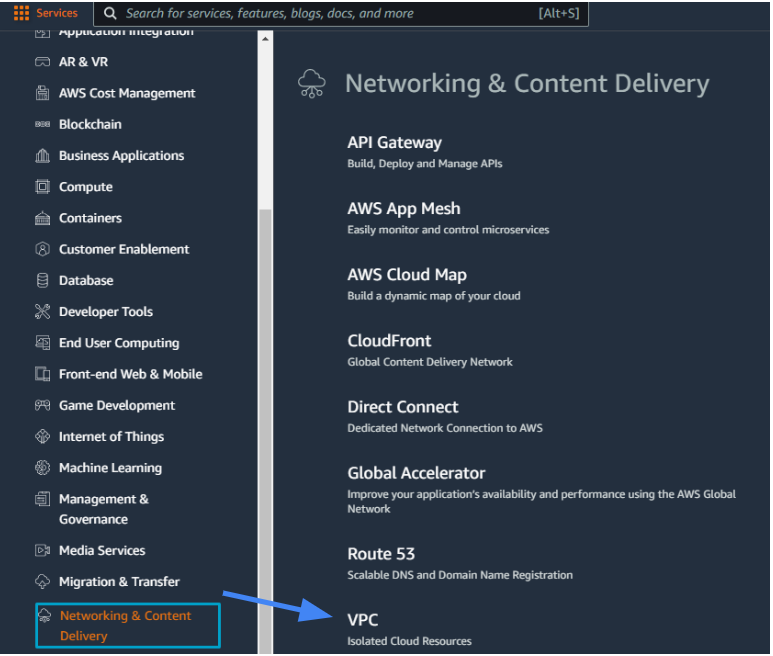
1.1 Log in to AWS Console, navigate to Services/Networking & Content Delivery/VPC.
1.2 Under Virtual Private Network (VPN) create Transit Gateways.
1.3 Insert Name tag for transit gateway. You can leave remain values as a default.
-
Name tag - optional - Vipilink
-
Description -
-
Amazon side Autonomous System Number (ASN) -
-
DNS support - checked
-
VPN ECMP support - checked
-
Default route table association - checked
-
Default route table propogation - checked
-
Multicast support - unchecked
-
Auto accept shared attachments - unchecked
-
CIDR - optional -
2. Creating two Site-to-Site VPN connection
2.1 Go to Services/Networking & Content Delivery/VPC/Virtual Private Network (VPN)/Site-to-Site VPN Connections and create VPN Connection.
Details
-
Name tag - optional - Vipilink
-
Target gateway type - Transit gateway
-
Transit gateway - choose the Transit gateway created in the Step 1
-
Customer gateway - New
-
IP address - Vipilink Gateway 1 IP Address
-
Certificate ARN -
-
BGP ASN - 64520
-
Routing Options - Dynamic (requires BGP)
-
Tunnel inside IP version - IPv4
2.2 Navigate to Transit gateway attachments, find the one you have created in Step 2.1 and assign a more meaningful name to make it easily edintifiable.
2.3 Repeat Steps 2.1 and 2.2 for the second VPN connection, using appropriate IP address for Vipilink Gateway 2 and assigning it a meaningful name.
2.4 Download the configuration for each connection and rename them to tunnel1.txt and tunnel2.txt.
Notice
To access your VPC via the redundant connection, ensure a VPC attachment is connected to the Transit Gateway.
3. Creating the IPsec Dual Tunnel in Vipilink Portal
3.1 Log in to Vipilink Portal, navigate to Networks/Networks and click on one you need.
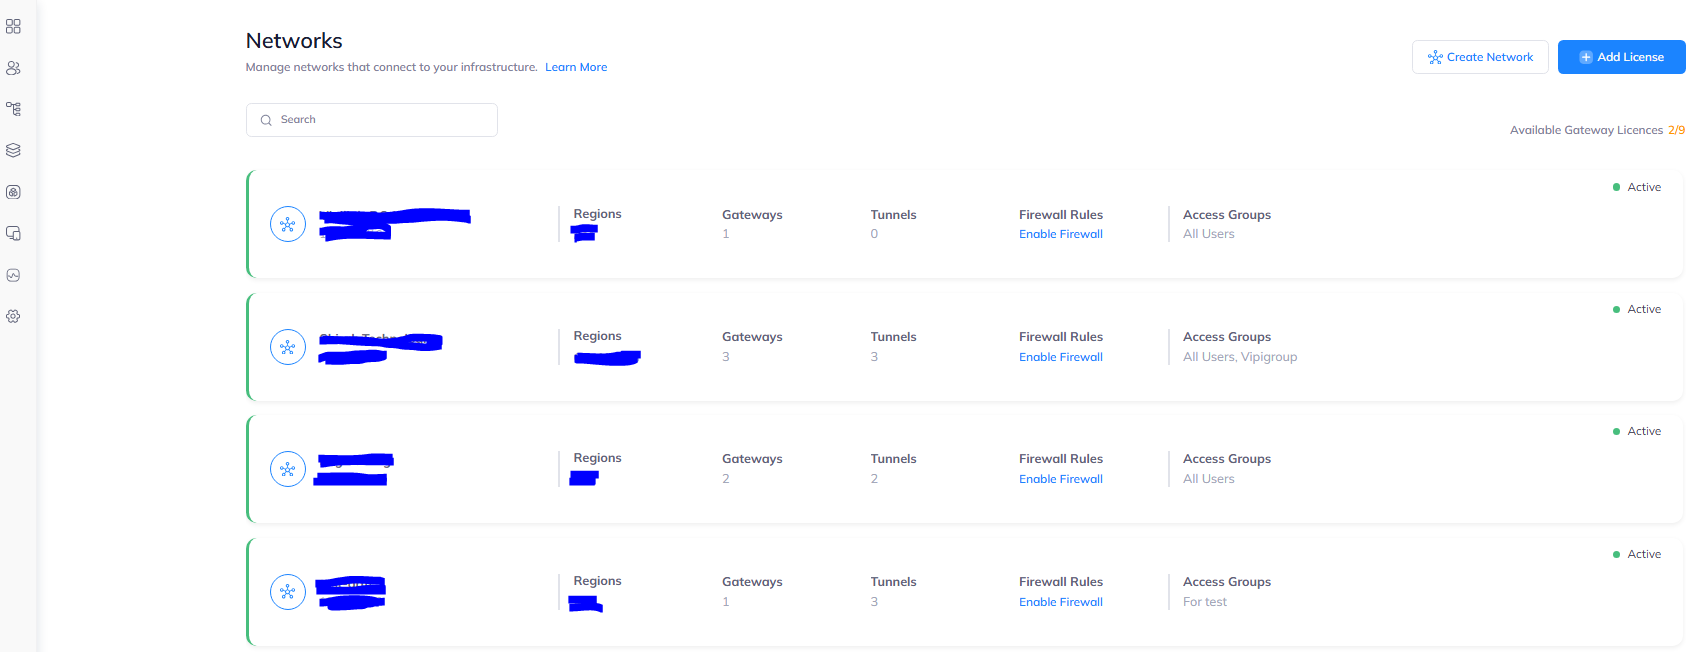
Then add a tunnel by choosing the Gateway and clicking on three-dotted menu (...) on the right side.
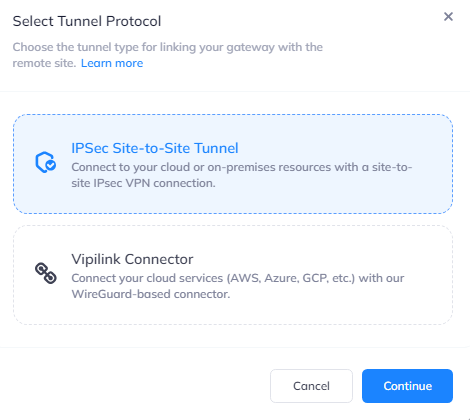
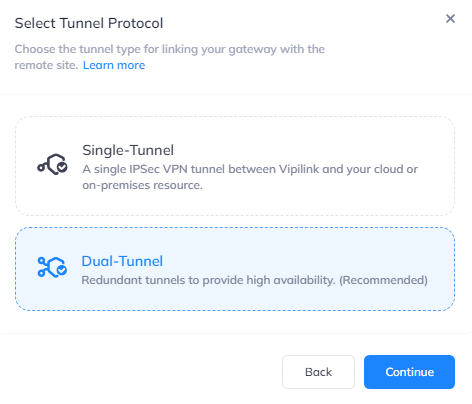
Click on IPSec Site-to-Site Tunnel/Dual-Tunnel and press to continue.
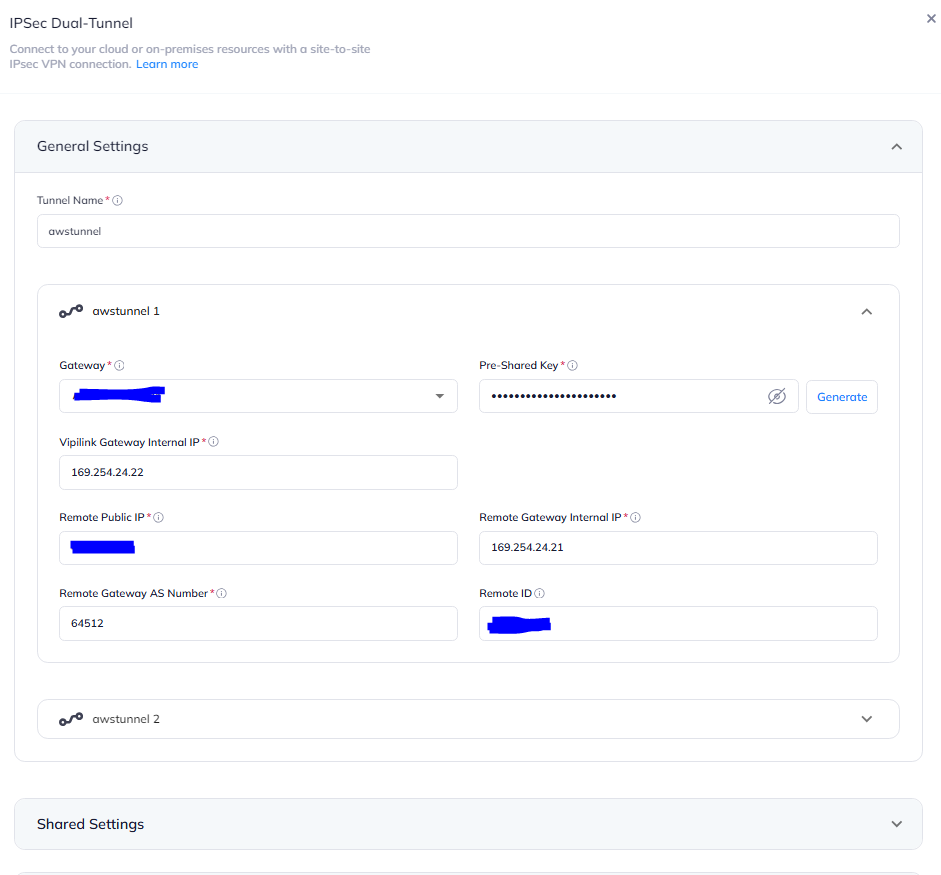
3.2 In General Settings define the Tunnel Name. The main values will be copied or edited from tunnel1.txt or tunnel2.txt files.
Tunnel 1 Values
-
Gateway - Select a gateway that will be used to create a redundant tunnel
-
Pre-Shared Key - copy the PSK from tunnel1.txt file
-
Vipilink Gateway Internal IP - Inside IP Address of Customer Gateway
-
Remote Public IP - Outside IP Address of Virtual Private Gateway
-
Remote Gateway Internal IP - Inside IP Address of Virtual Private Gateway
-
Remote Gateway AS Number - AWS ASN
-
Remote ID - Outside IP Address of Virtual Private Gateway
Tunnel 2 Values
-
Gateway - Select the second gateway that will be used to create a redundant tunnel
-
Pre-Shared Key - copy the PSK from tunnel2.txt file
-
Vipilink Gateway Internal IP - Inside IP Address of Customer Gateway
-
Remote Public IP - Outside IP Address of Virtual Private Gateway
-
Remote Gateway Internal IP - Inside IP Address of Virtual Private Gateway
-
Remote Gateway AS Number - AWS ASN
-
Remote ID - Outside IP Address of Virtual Private Gateway
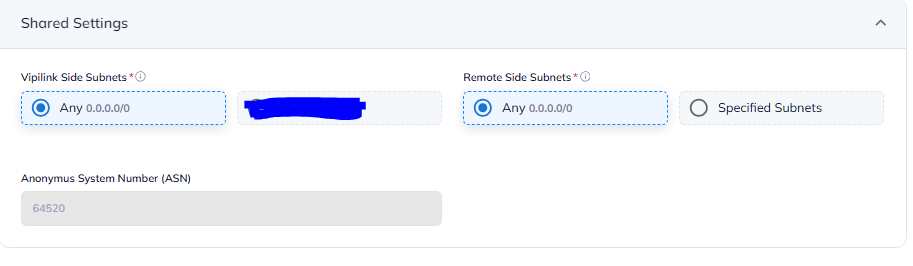
3.3 Under Shared Settings for both sides choose Any 0.0.0.0/0. ASN should be the same - 64520.
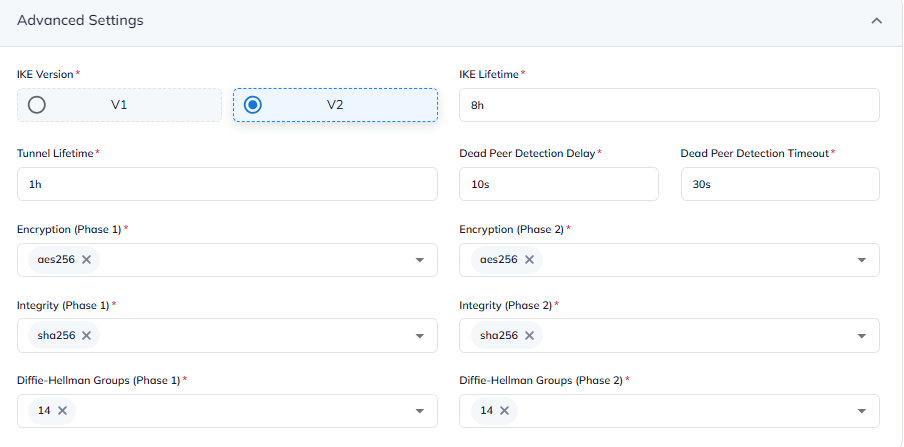
3.4 Define the values in Advanced Settings
-
IKE Version - V2
-
IKE Lifetime - 8h
-
Tunnel Lifetime - 1h
-
Dead Pear Detection Delay - 10s
-
Dead Pear Detection Timeout - 30s
-
Encryption (Phase1) - AES256
-
Encryption (Phase2) - AES256
-
Integrity (Phase1) - SHA256
-
Integrity (Phase2) - SHA256
-
Diffie-Hellman Groups (Phase1) - 14
-
Diffie-Hellman Groups (Phase2) - 14
4. Creating the static routes
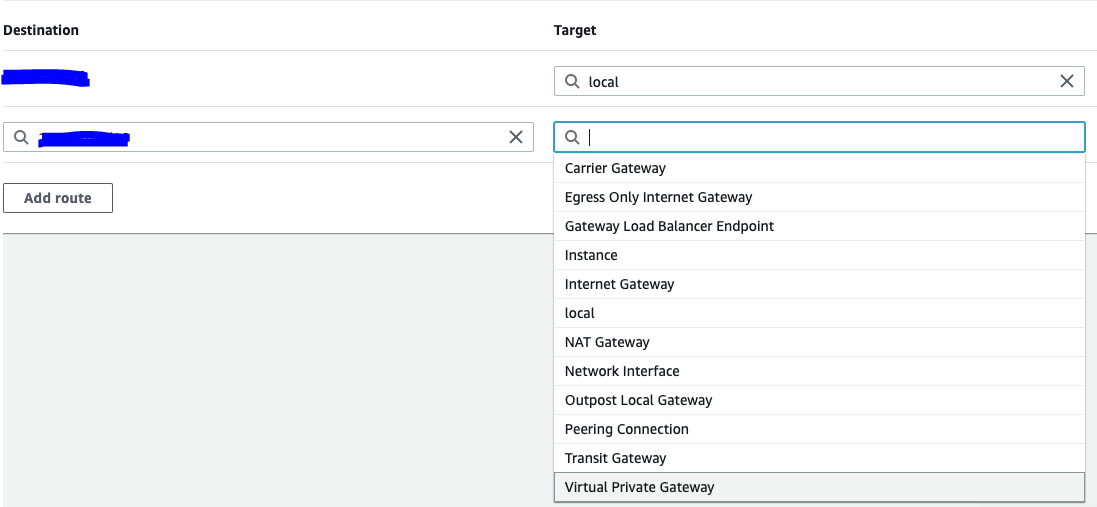
4.1 Go back to AWS Console and navigate to Virtual Private Cloud/Your VPCs and select the VPC that is attached to the Transit Gateway.
In main Route Table add route to Vipilink local subnet. As a target select Virtual Private Gateway.
4.2 In Vipilink Portal add the route to the corresponding subnet in AWS.
5.1 Verify connectivity between local and remote networks.
-
Use tools like ping or traceroute to check the connection
-
Ensure that resources on the remote network (e.g., shared folders, servers) are accessible from the local network.